

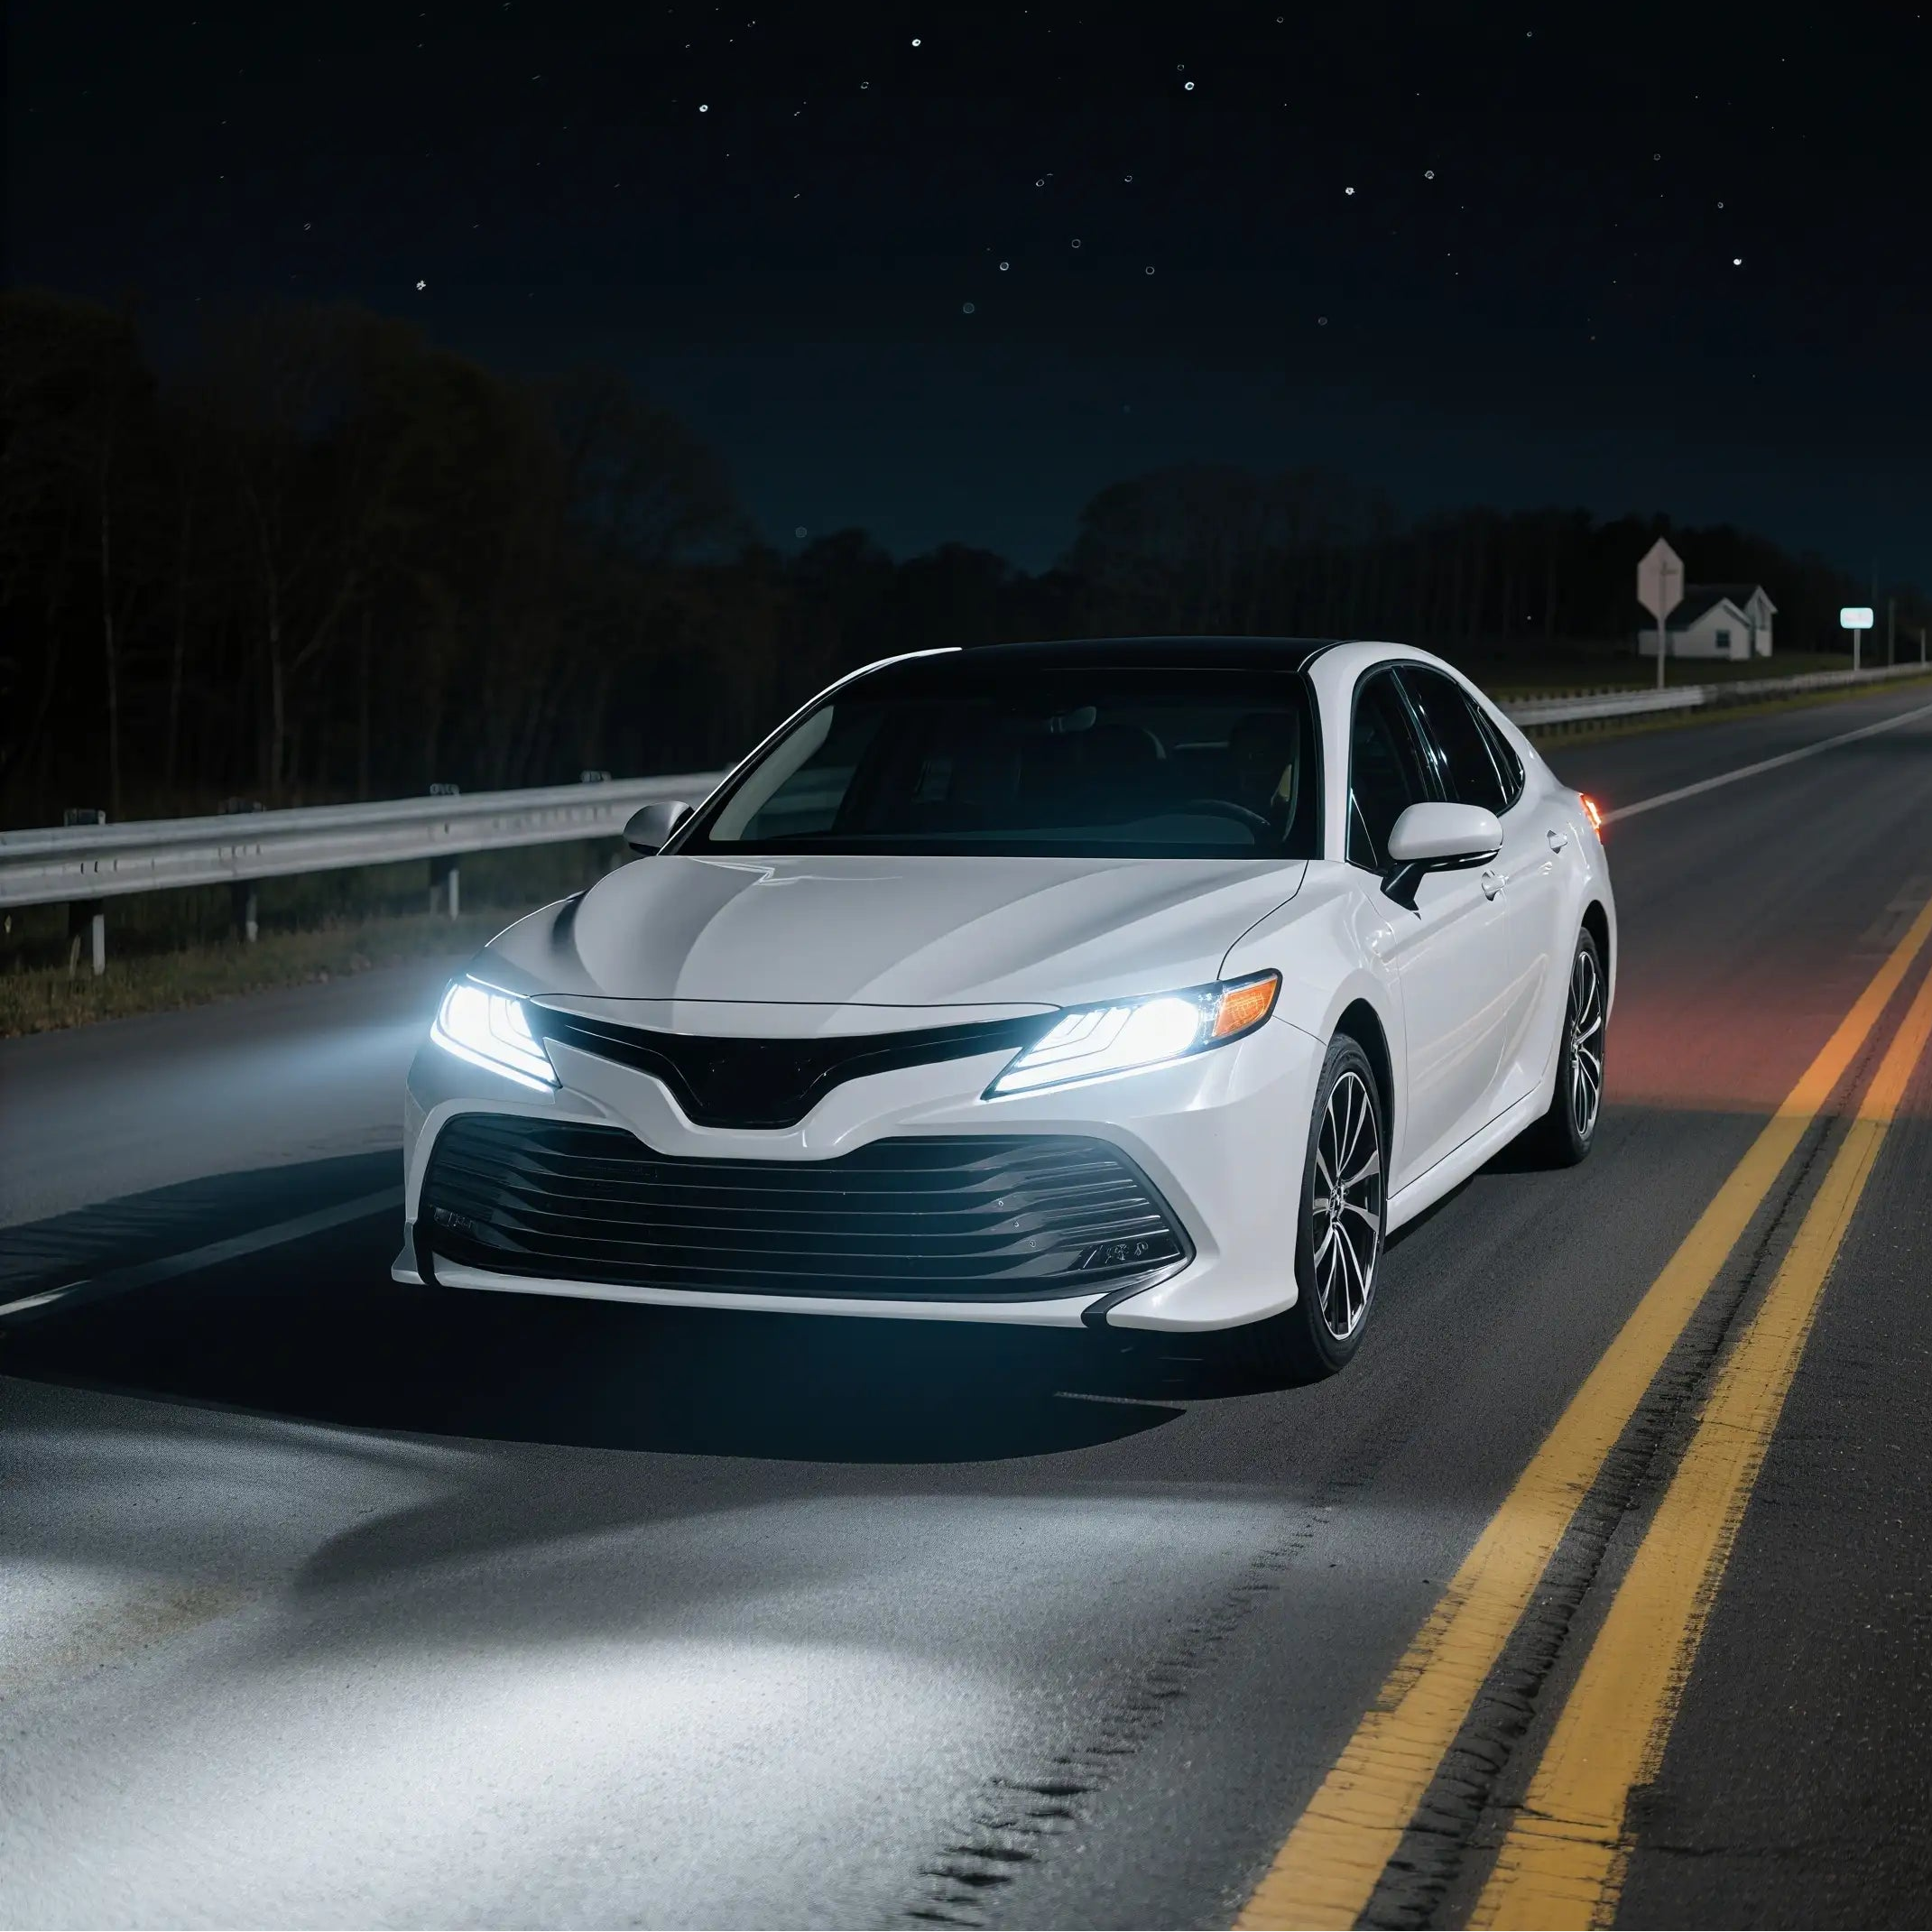


Quality headlights are crucial in lighting your path while driving at night. Thus, it's essential to check if the bulbs are well-aligned before going your way.
Have you ever experienced being blinded by someone's headlights or even your own? If that's the case, your headlights could be misaligned and need some adjustments.
Proper headlight adjustment refers to the accurate adjustment of your headlight. Whether the misalignment is prompted by time or you've improperly replaced the bulbs, misalignment can always happen. This can reduce your visibility, which is big trouble if you're driving at night.
If you'll be driving at 60 mph, you will not have enough time to avoid a possible collision whenever something erratically runs your way. It will dwindle your response time to as little as a second to zero.
So, how can you tell if your headlights aren't adjusted properly?
Signs Your Headlight isn't Correctly Adjusted
You can tell that your car's headlight adjustment was wrong if you'll notice other drivers are flashing their lights at you. Your lights could be blinding them even when you're using your high beam mode. You may also see that the road is brightly illuminated with your light at about 20 feet, which means your headlights are pointed too low.
To know if your headlights are properly positioned, park your car at a surface level and flash the headlights 25 feet ahead on a wall or in your garage door. The low beam should be within or below the lens center height for most vehicles.
You can also anticipate the light pattern higher on the right side to lighten the signs of the road and lower light on the driver's side to prevent any glare that could blind other drivers on the road. These are the signs that your beams are placed accurately on both sides.
The Importance of Proper Headlight Aim
Headlights are your most significant safety system after your braking systems and tires. They help you see far enough of the road during nighttime, supporting you to react promptly whenever an object is in your way. This prevents possible accidents that are highly avoidable, given that you have the proper lighting system.
The importance of the correct headlight aim is crucial. Accurate vertical or horizontal adjustments guarantee your extensive view on the road that help you respond quickly whenever an animal or obstacle is on the road.
Some low-beam lighting systems can render 100 ft. range output, which is quite useful. Additionally, some LED and HID lighting systems can brighten 150 ft in low-beam mode. Thus, to ensure the full output capacity of your headlights, make sure that they're properly directed.
But, how do you measure headlight adjustment? Let's find out!
How to Measure Headlight Adjustment
Step 1: Leveling Your Car
- Make sure that your car is properly leveled.
- Check your car space if there are no stones or other things that might affect the level of your car.
- You also have to remove the stuff weighing in your trunk and ensure your tires are at the ideal level.
- Your gas tank should ideally be at least half-full
- See if your headlight aim adjustment wheel is pointing at zero.

know more details,click here
Step 2: Positioning Your Car
- Park your car at a ground level 10 to 15 ft. from your garage door or wall. Make sure that you've turned off the light in your garage to have a proper assessment.
- Ensure that the shocks are leveled by bouncing the four corners of the car.
- Ensure the suspension is level by measuring the distance from both headlights to the ground.
Step 3: Turn on the Headlights
- Don't use fog lights or high beams. Create two T's on your garage door or wall by marking the center lines of the vertical and horizontal headlight beams with masking tape.
Step 4: Ensure the Lights are Level
- Between the two marked center lines, put a carpenter's level to ensure they're level.
- If you notice any unevenness, measure how far from the wall the lower mark is using a measuring tape and adjust the center lines marker to the same height, which is not higher than 3.5 ft or 1.1 m from the ground.
Step 5: From the Garage Door, Back Your Car Precisely AT 25 ft.
- Measure the distance with precision using a measuring tape. This ensures that you're at the correct distance from the wall.
- After that, turn off your headlights.
- Remove the trim rims from the headlights and find the adjusting screws. You can find these screws alongside the headlight. You may also check these screws in the engine compartment as some manufacturers put them behind the headlights.
- You should also never forget to mark both the vertical and horizontal adjuster.
Make sure to refer to the manufacturer's manual for the proper distance adjustment. Most manufacturers have different suggestions when it comes to correct adjustment. For example, Chrysler suggests 3 ft or 0.9 m in some of their models.
Furthermore, a Toyota's ideal adjustment is 10 feet or 3.0 m. Thus, it's wise to check your manufacturer's manual and adhere to the given guidelines.
Step 6: Make Sure to Adjust the Headlights Separately
- In making adjustments, make sure to adjust the two separately.
- Cover one headlight with a cloth while testing and adjusting the other one.
- Ask for assistance to turn on and off the lights in the driver's seat while you make the necessary adjustments.
Step 7: Adjust the Vertical Field by Turning the Bold or the Upper Screw
- Turn on the headlights after the adjustments and see the pattern on the wall.
- The brightest part of the beam should be even or below the tape's centerline you've made.
Step 8: Adjust the Horizontal Field by Turning the Screws or Bolts
You'll typically do the same thing with this adjustment (right-left). The most intense part of the beam must be on the right vertical line or the left, given that you're driving on the left side of the road.
Step 9: Test Your Headlight Alignment on the Road
Test your alignment on the road to ensure that both of your headlights are adjusted perfectly. Do a test drive to see if the headlights are adjusted correctly. Do readjustments as needed by redoing the steps above.
Takeaway
Proper headlights adjustments are crucial not just for your safety but also for the road safety of others. Thus, it's essential to make proper adjustments before hitting the road. This way, you ensure that both your headlights are working correctly.
Each manufacturer has different suggestions when it comes to range adjustments. Thus, it's important to read your manufacturer's manual for their recommended distance adjustments to get the proper headlight adjustment based on the brand of your car.


Leave a comment
All comments are moderated before being published.
This site is protected by hCaptcha and the hCaptcha Privacy Policy and Terms of Service apply.