

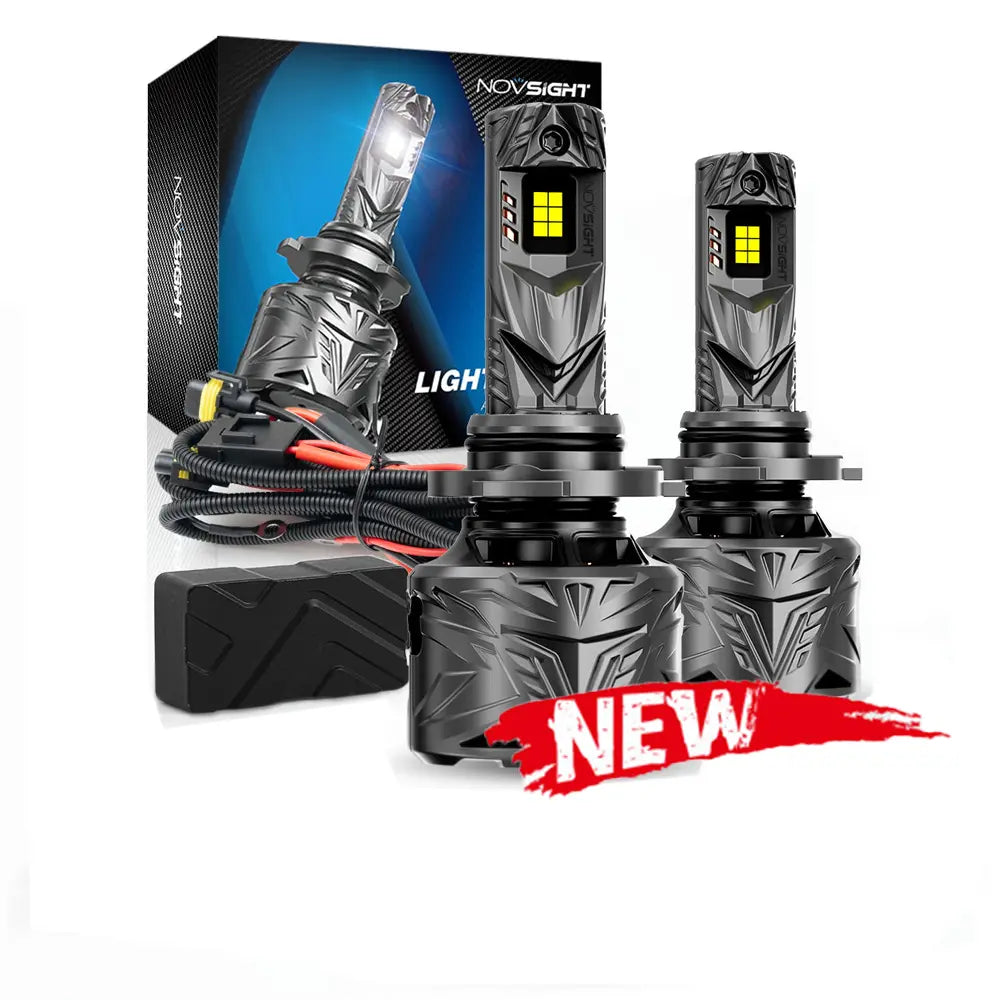

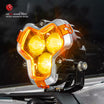
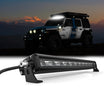


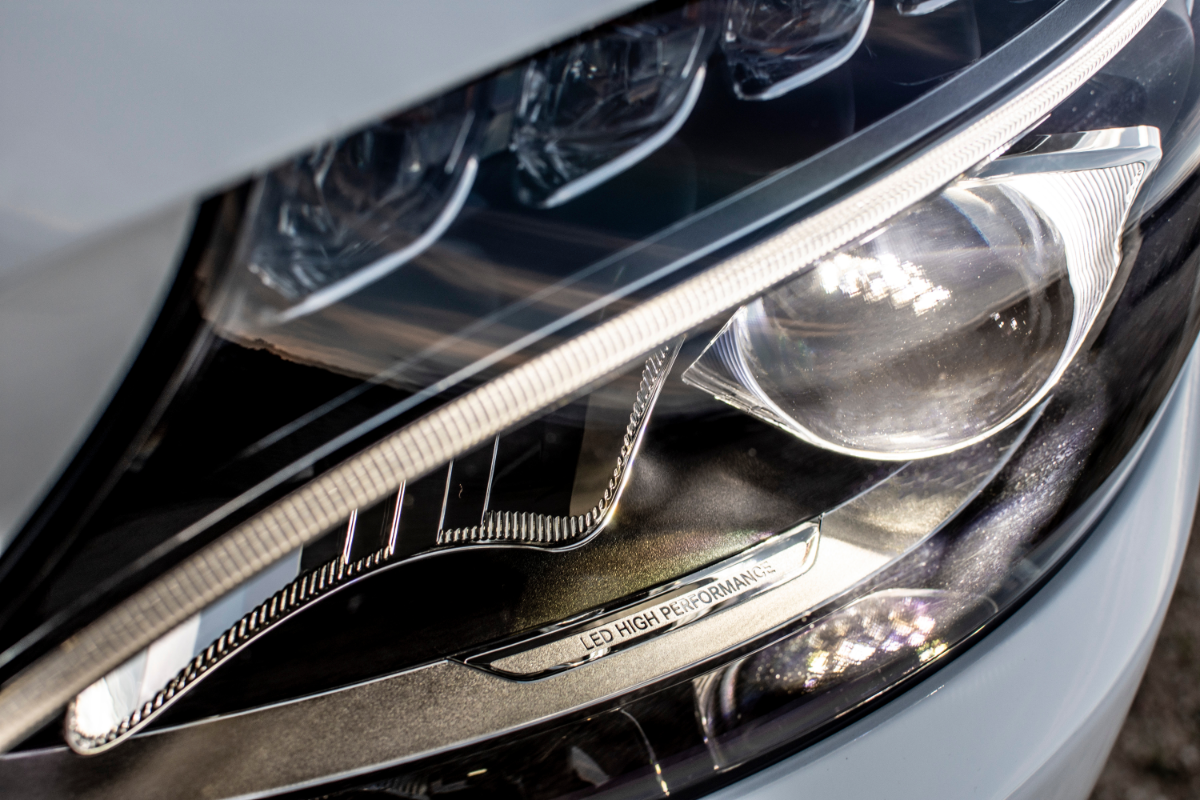
Why change to LEDs LED headlights have gotten famous in the automotive sector over the last couple of years as the flagship lighting solution.
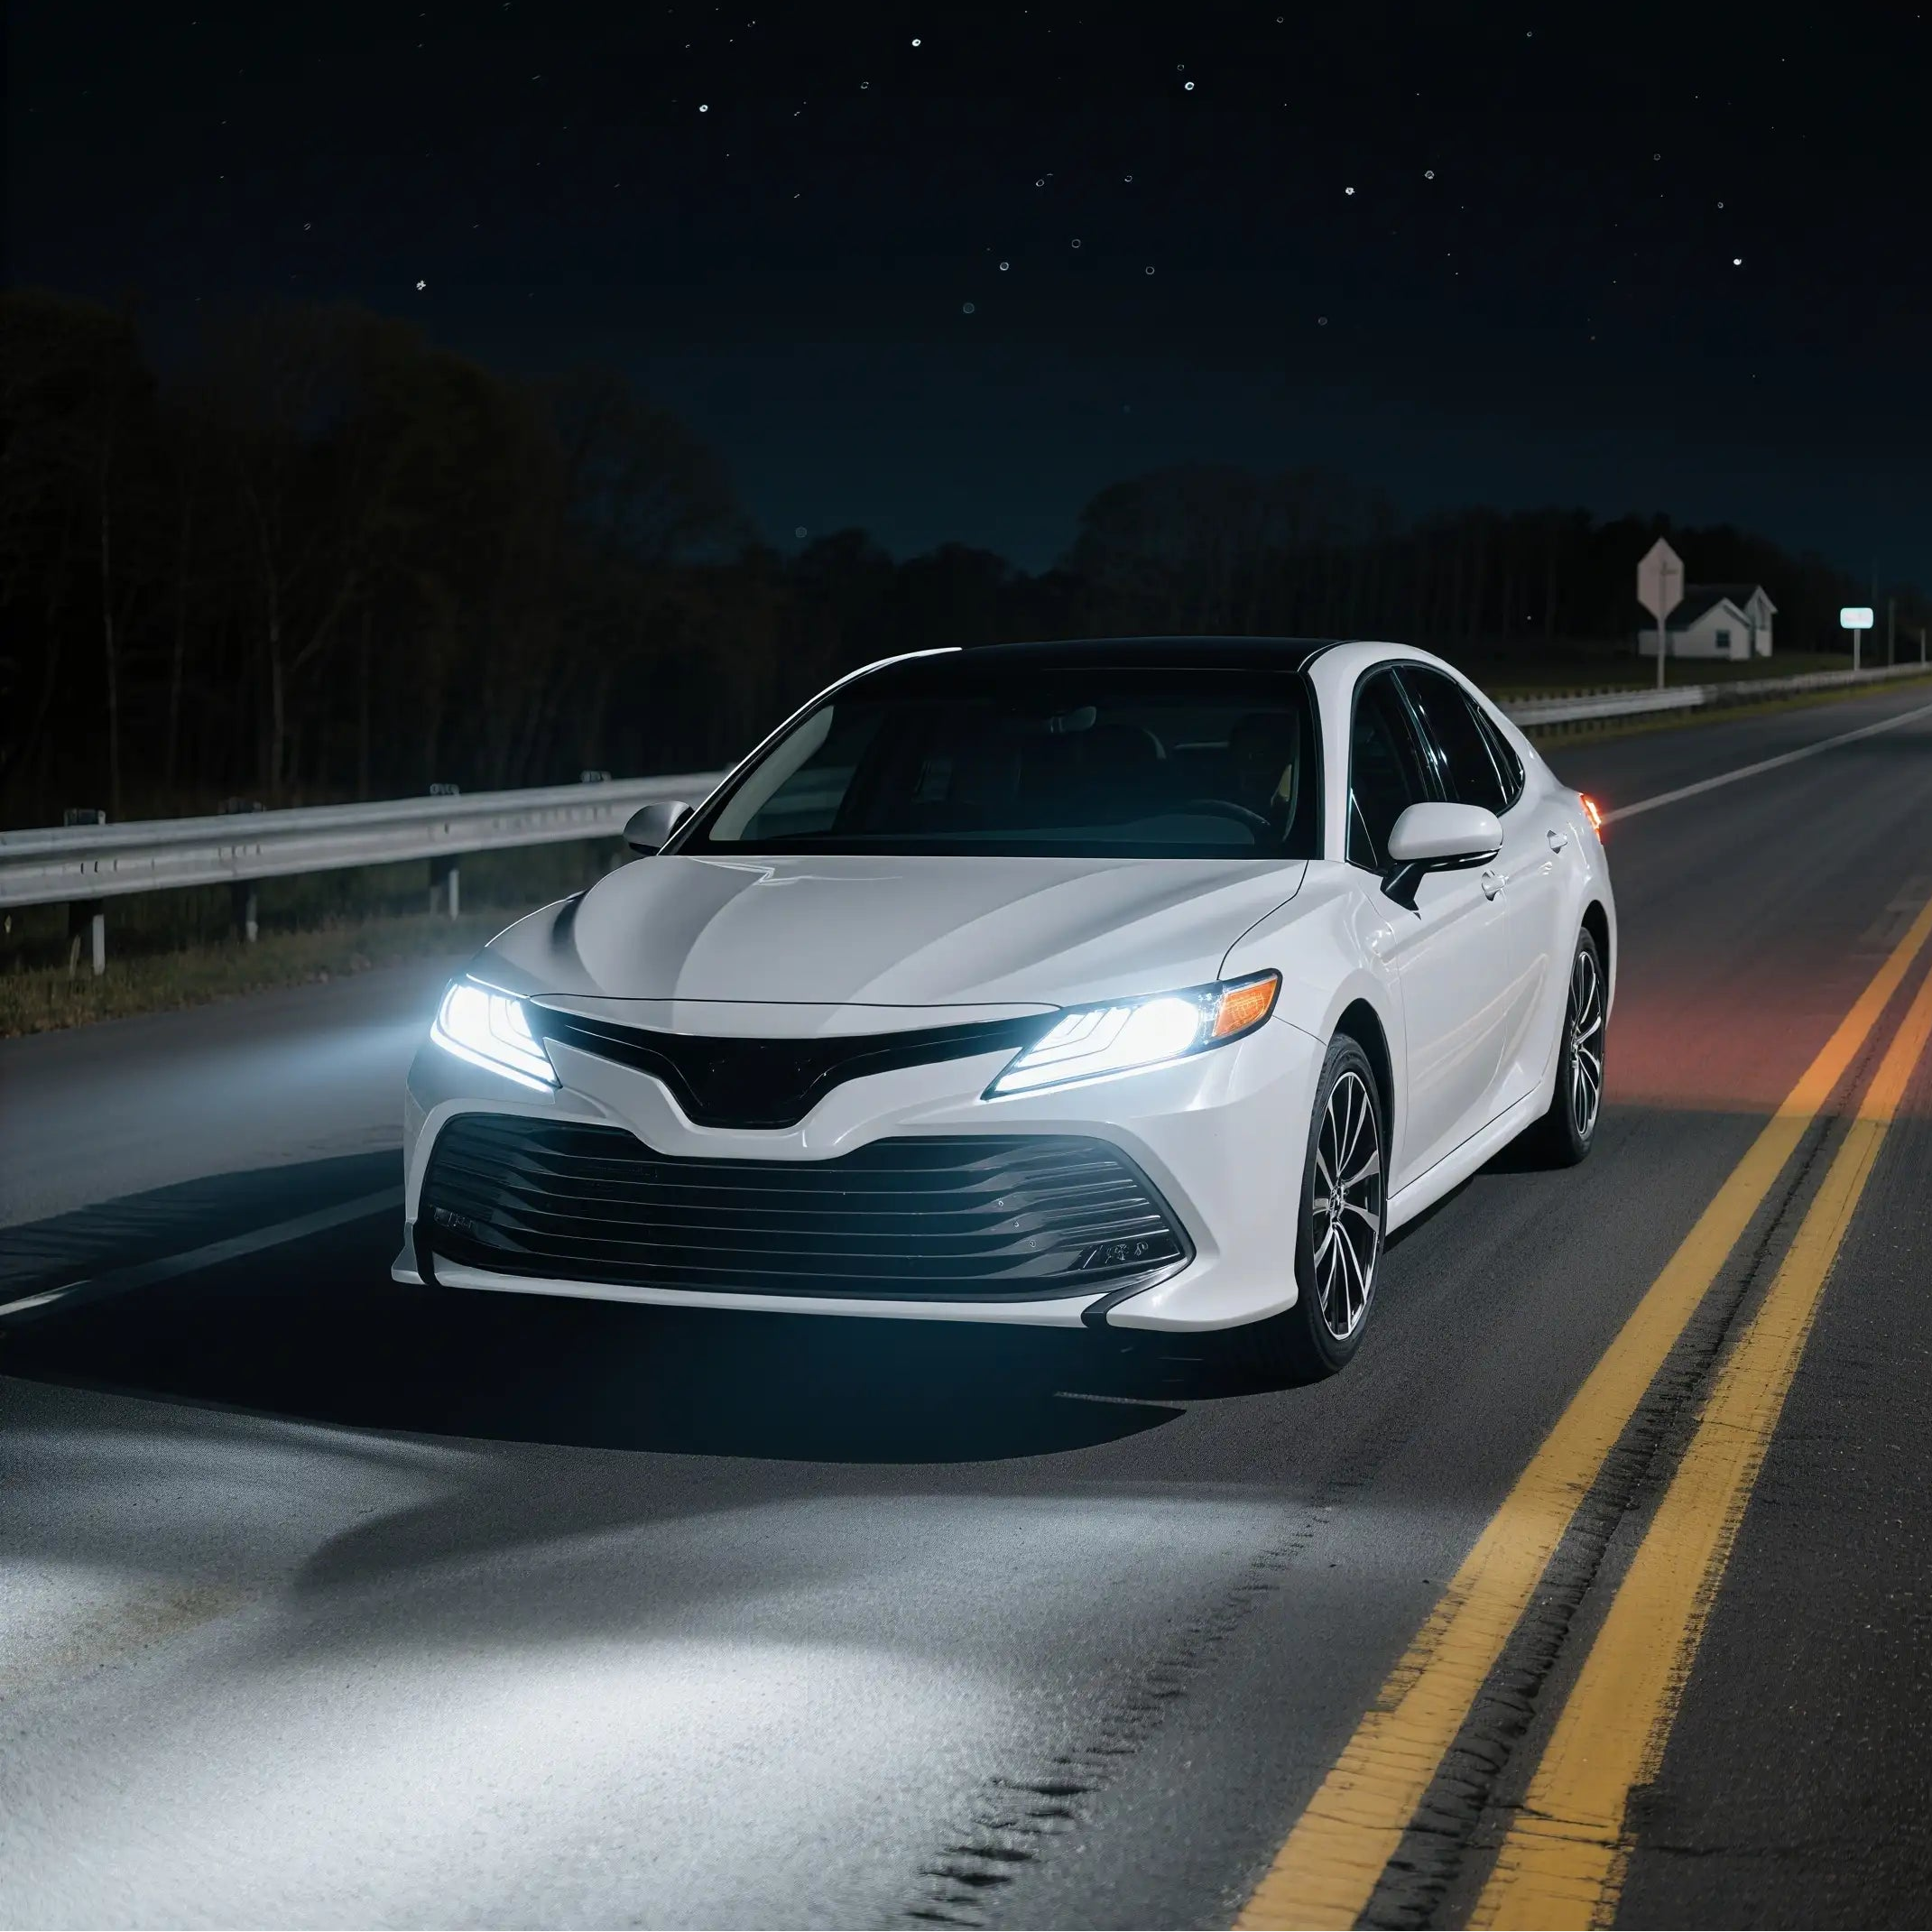
LEDs offer supreme efficiency, great beam pattern, and sheer reliability when compared to HIDs and Halogen headlamps. Most of the modern cars, especially the top-of-the-line trims are equipped with LED headlamps to provide better night-time visibility.
If your car is equipped with normal halogen headlamps, you can replace them with LED headlights without much effort by following the steps below.
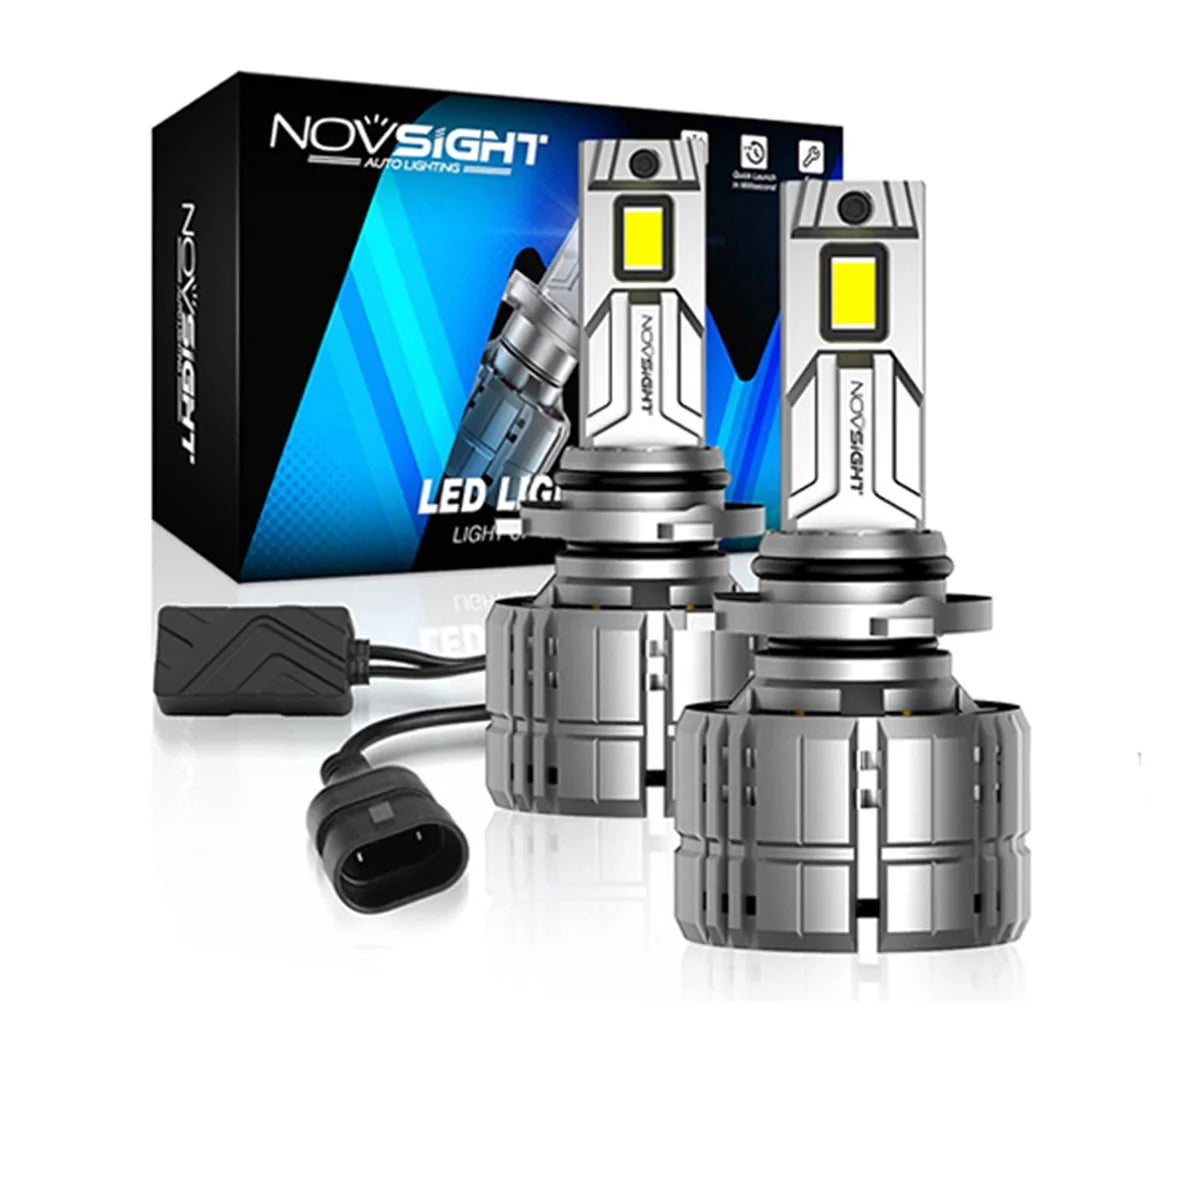
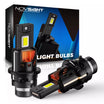
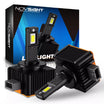
Getting the Specifications Right&Tools Required Before Installing the LEDs in your vehicle, you must choose the right LEDs that fit correctly in the housing.
There are a number of LED housing size standards that differ from vehicle to vehicle such as H7, H4 and 9006, etc. Most vehicles have a different housing standard for headlights and fog lights. So do check the right LED light housing size for your vehicle. The housing size for the headlights and fog lights is mostly mentioned in your vehicle’s owner manual.
Our website can also help you find the correct LED size for your vehicle. Simply enter the make, model, year, and light location of your vehicle to get the right LED lights for it.
You can also look for the size of the housing by inspecting the headlights from the back, it is also written on the rim of halogens sometimes.
Once you have acquired the LEDs, installing them does not require much technical knowledge nor any technical tools.
You can pretty much install all types of LED headlights without the need for any tools. You would only require a set of steady hands, LED lights and an instruction manual that is provided to you along it for trouble-free installation. The installation manual contains pictures for better demonstration and to eliminate any misunderstanding.
You can also check out the installation help page of our website for detailed installation instructions and videos on how to install different models The General Process It hardly takes around 20 minutes to install LED headlights on your vehicle.
The general steps to install LED headlights on all types of LED sizes are almost the same. On some headlight housings such as the H7 and the H4 where the halogen lamp is secured with a metal spring clip, you can follow the simple steps below.
Installation Steps
- 1. Make sure your vehicle is turned off and the headlights turned are off.
- 2. Remove the rubber cover on the back of the headlight just behind the halogen bulb to access the connector.
- 3. Unplug the connector from the old lights and place it aside.
- 4. Loose the metal clip from its place and take out the old halogen bulb from the headlights. Do not touch the halogen headlamps on their filaments.
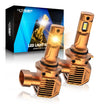
- 5. Now carefully pick up the LED light and take the collar off it by rotating it anticlockwise.
- 6. Now place the collar on the exact same spot the rim of the halogen bulb was sitting inside the housing.
- 7. Now fix the collar in the housing by placing the metallic clip back on.
- 8. Now carefully insert the LED bulb inside the locking ring by aligning the tabs on the LED bulb with the grooves on the locking ring.
- 9. Gently press the LED bulb against the locking ring while it is inserted and rotate it clockwise as much as it can.
- 10. Ensure the flat side of the bulb containing the LED elements are facing left and right (9 and 3 o’clock. If it does not aligns, repeat the step 8 and 9 by reinserting the LED light but with a 180 degrees offset.
- 11. A small sticker is placed sometimes on the heatsink, which must direct upwards when the light is correctly aligned.
- 12. Plug the electrical connector with the LED light connector.
- 13. Fit the rubber gasket back on the housing to avoid any dust or moisture from getting into the connection or the headlights.
On other headlight housing standards such as the H11 and the 9006 it gets even simpler; you can keep the simple steps mentioned below in your mind while installing the LED lights.
- 1. Make sure your vehicle is turned off and the headlights are turned off.
- 2. Remove the rubber cover on the back of the headlight just behind the halogen bulb to access the connector.
- 3. Unplug the connector from the old lights and place it aside.
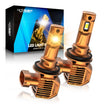
- 4. Simply rotate the old halogen bulb anticlockwise to loosen it up and take it out from the headlight.
- 5. Now carefully insert the LED light inside the headlight and rotate it counterclockwise to lock it in place.
- 6. Ensure the flat side of the bulb containing the LED elements are facing left and right (9 and 3 o’clock. If it does not align, reinsert it at a different angle until it is perfectly aligned.
- 7. A small sticker is placed sometimes on the heatsink, which must direct upwards when the light is correctly aligned.
- 8. Plug the electrical connector with the LED light connector.
- 9. Fit the rubber gasket back on the housing to avoid any dust or moisture from getting into the connection or the headlights.
***Do not discard the old halogen lamps before testing the LED lights or even after it, as it's better to have a backup.***
Testing the bulbs After installing the LED lights, testing is crucial before hitting the road in order to ensure the lights are working as intended. If you are getting a warning sign on your dashboard or the LED lights are flickering, then you might need to add resistors (CAN bus) with the LED to fix the issue. Keep in mind that the LEDs or the CAN bus can be polarity sensitive, and it might require you to flip the connector 180 degrees to get the LED lights working sometimes.
Testing the beam pattern is also critical, which depends on whether you have aligned the LED lights correctly in the housing. The beam pattern can be obtained by driving the car up to a clear wall and observing the pattern made by the lights. If there are any irregularities on one side of the beam pattern such as a couple of hot spots, or the light is directed way upwards.
Correct the alignment of your LED lights after letting them cool for 5 minutes so the LED element on the flat sides faces 3 and 9 o clock (right and left).
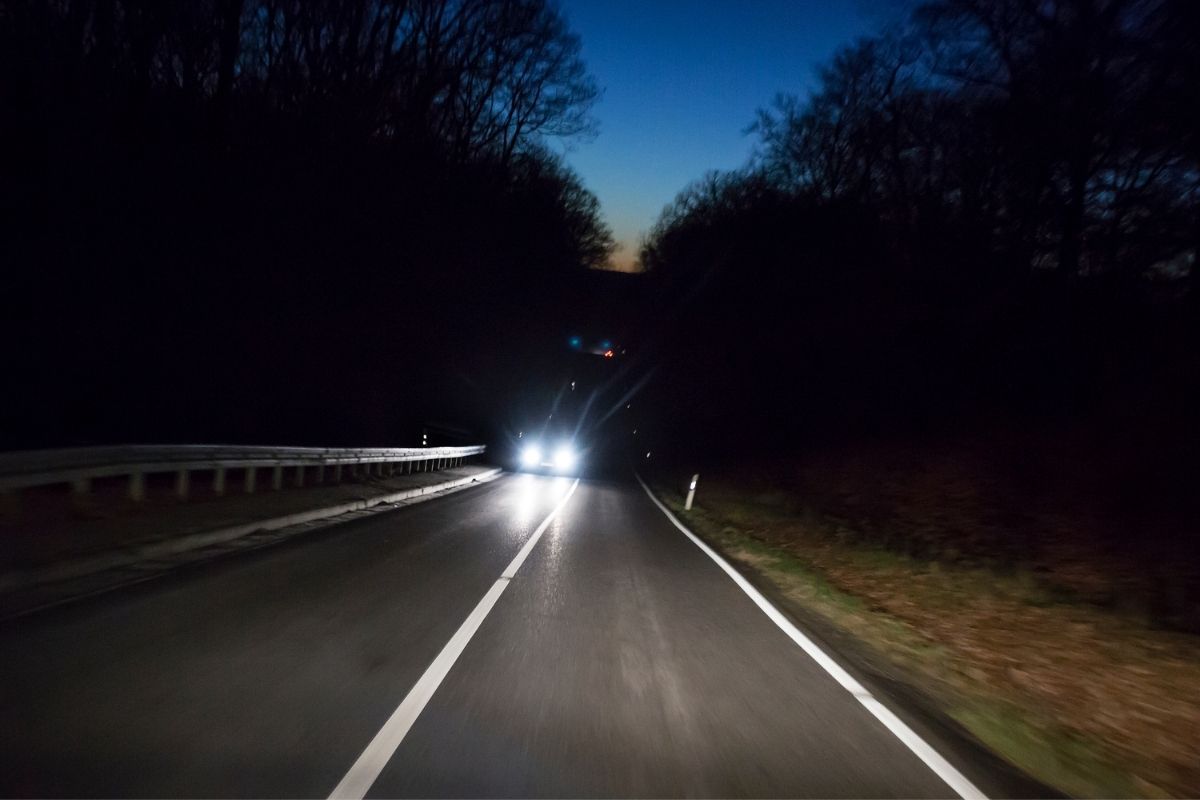
After obtaining fixing all the issues you can safely drive your car out on the road with a much better nighttime visibility.
Leave a comment
All comments are moderated before being published.
This site is protected by hCaptcha and the hCaptcha Privacy Policy and Terms of Service apply.