

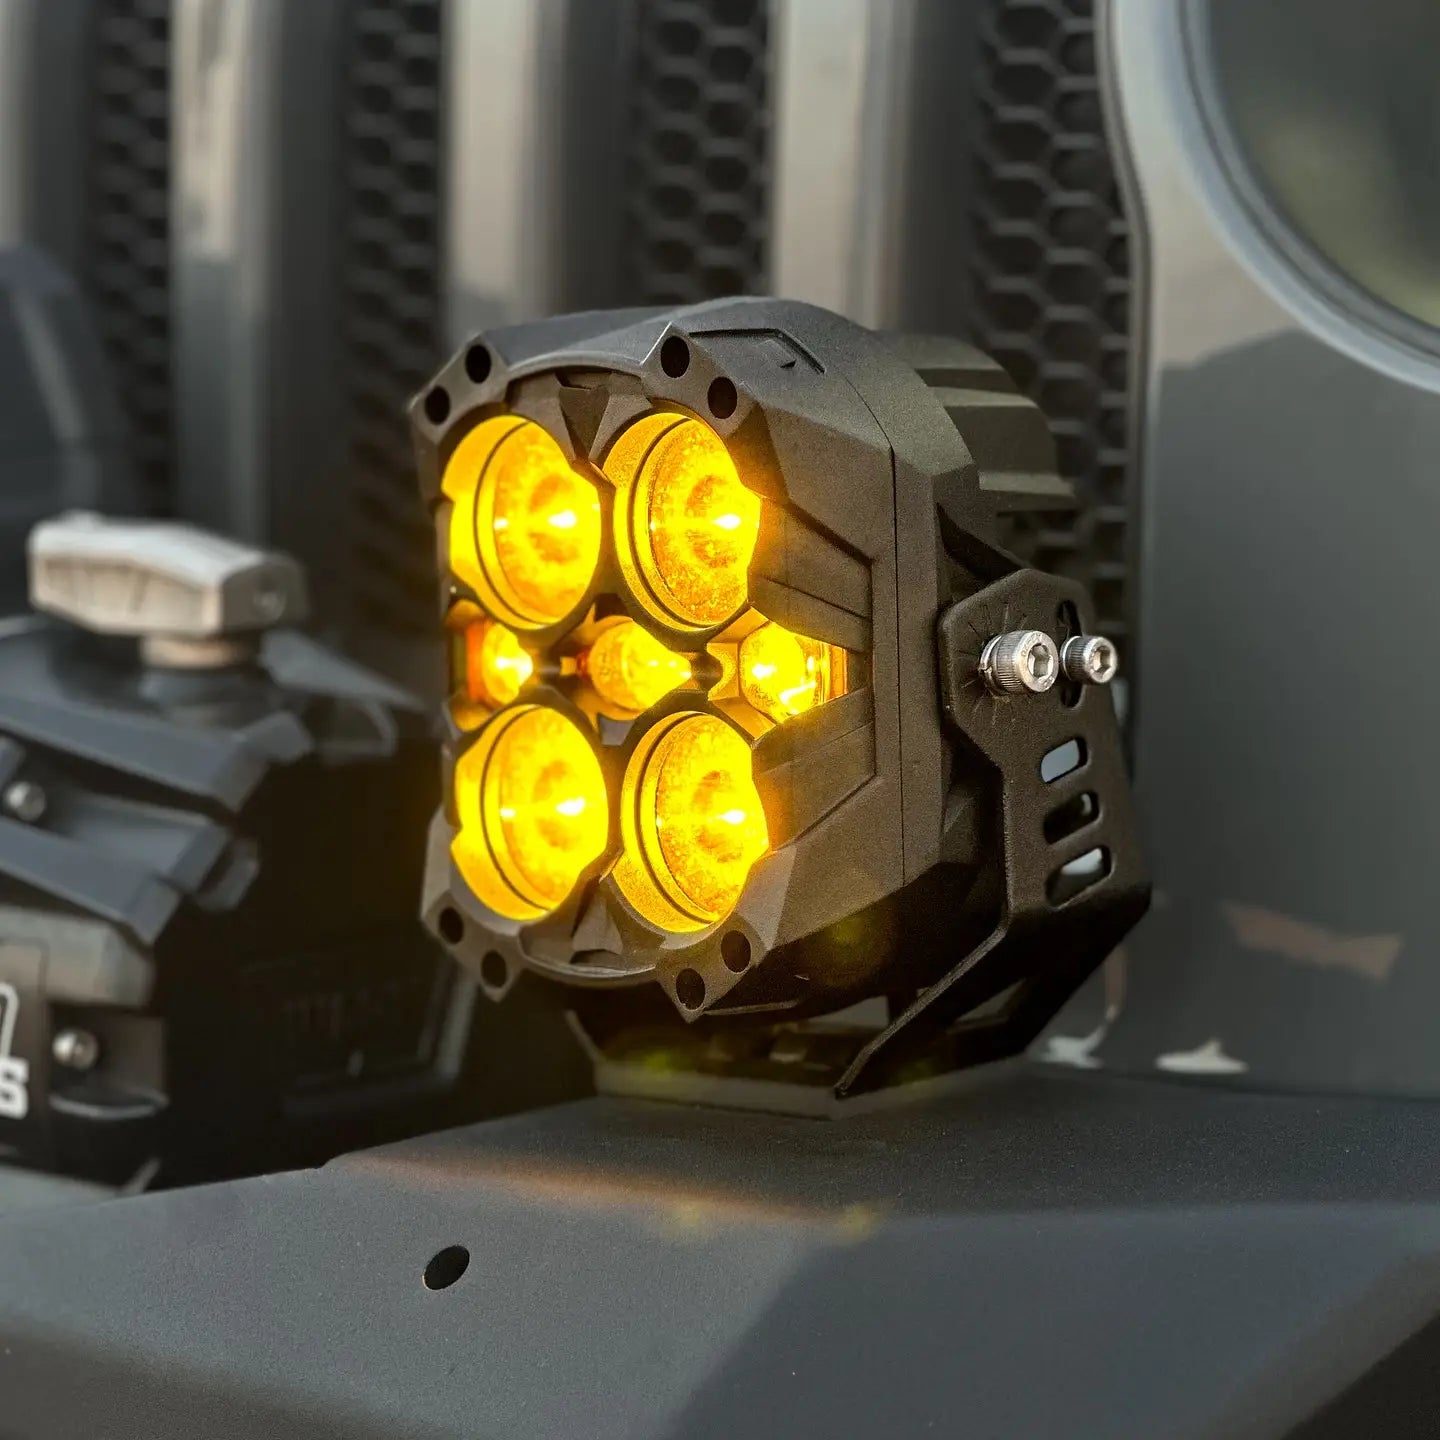
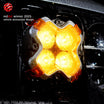
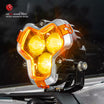
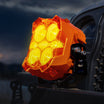
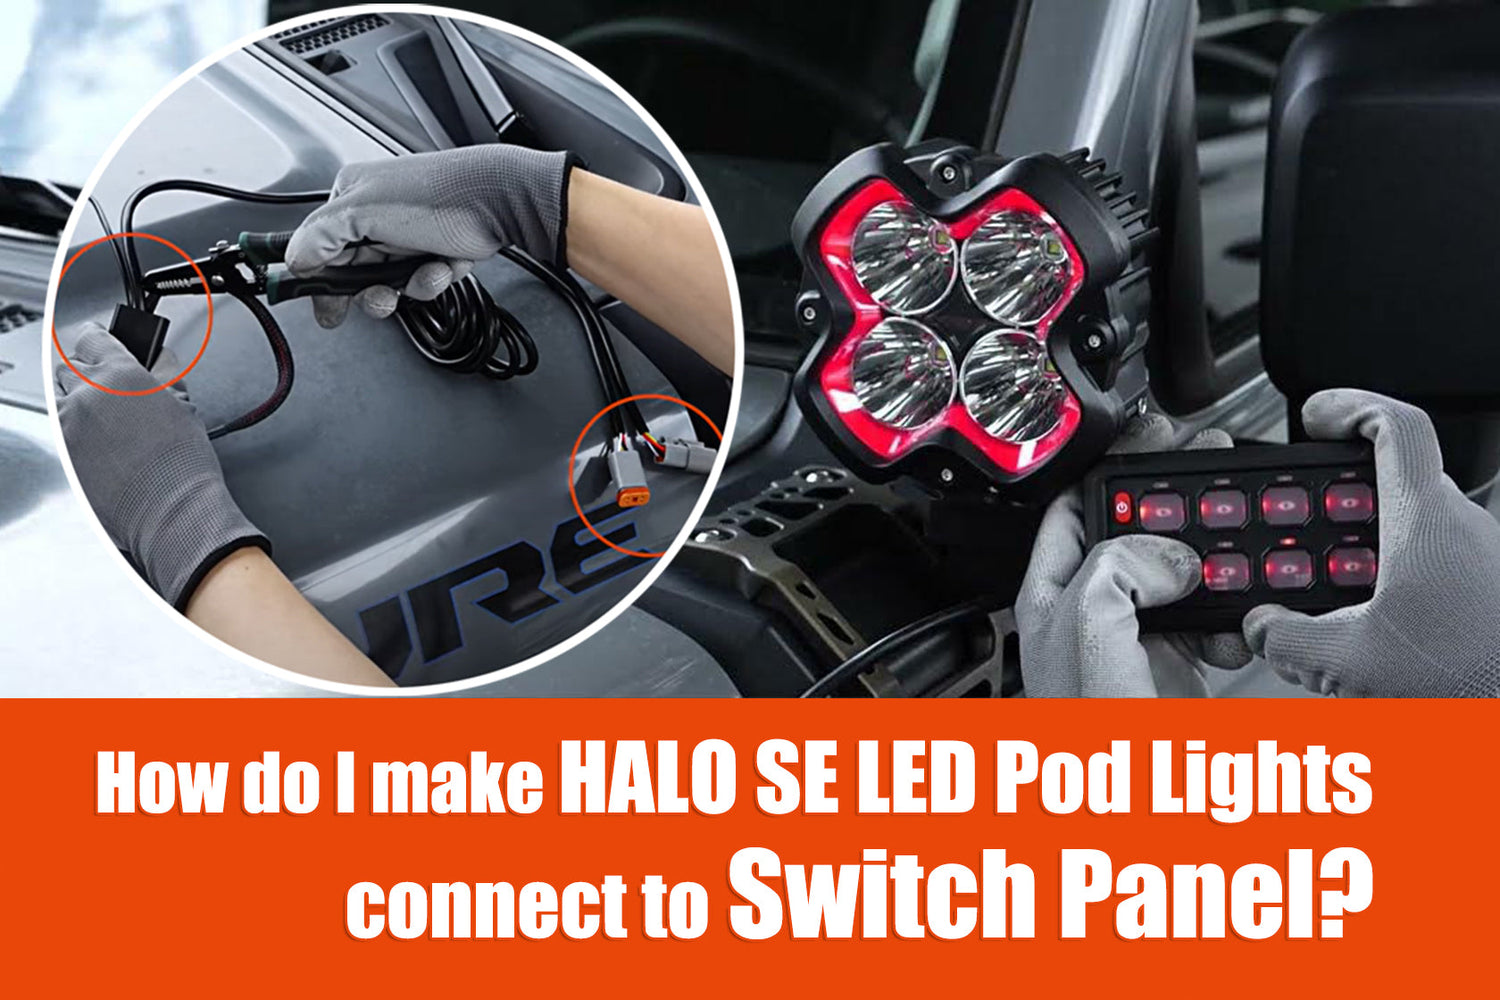
How do I make HALO SE LED Pod Lights connect to Switch Panel?
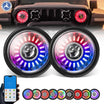
This tutorial applies to HALO SE Series 3-inch, 4.5-inch, and 6-inch LED Pod lights.
Table of Contents
- Preface: Working Principle & Prerequisites
- Step 1: Locate and Cut the HALO SE Harness Connected to the Off-Road Light
- Step 2: Identify the Function of Each HALO SE Color-Coded Wire
- Step 3: Connect the Four Wires to the Switch Panel Ports
- Step 4: Connect the Harness to the Off-Road Light’s Harness Port
- Step 5: Mount the Off-Road Lights on the Vehicle
- Step 6: Test the Lights for Proper Functionality
- Conclusion
Preface: Working Principle & Prerequisites
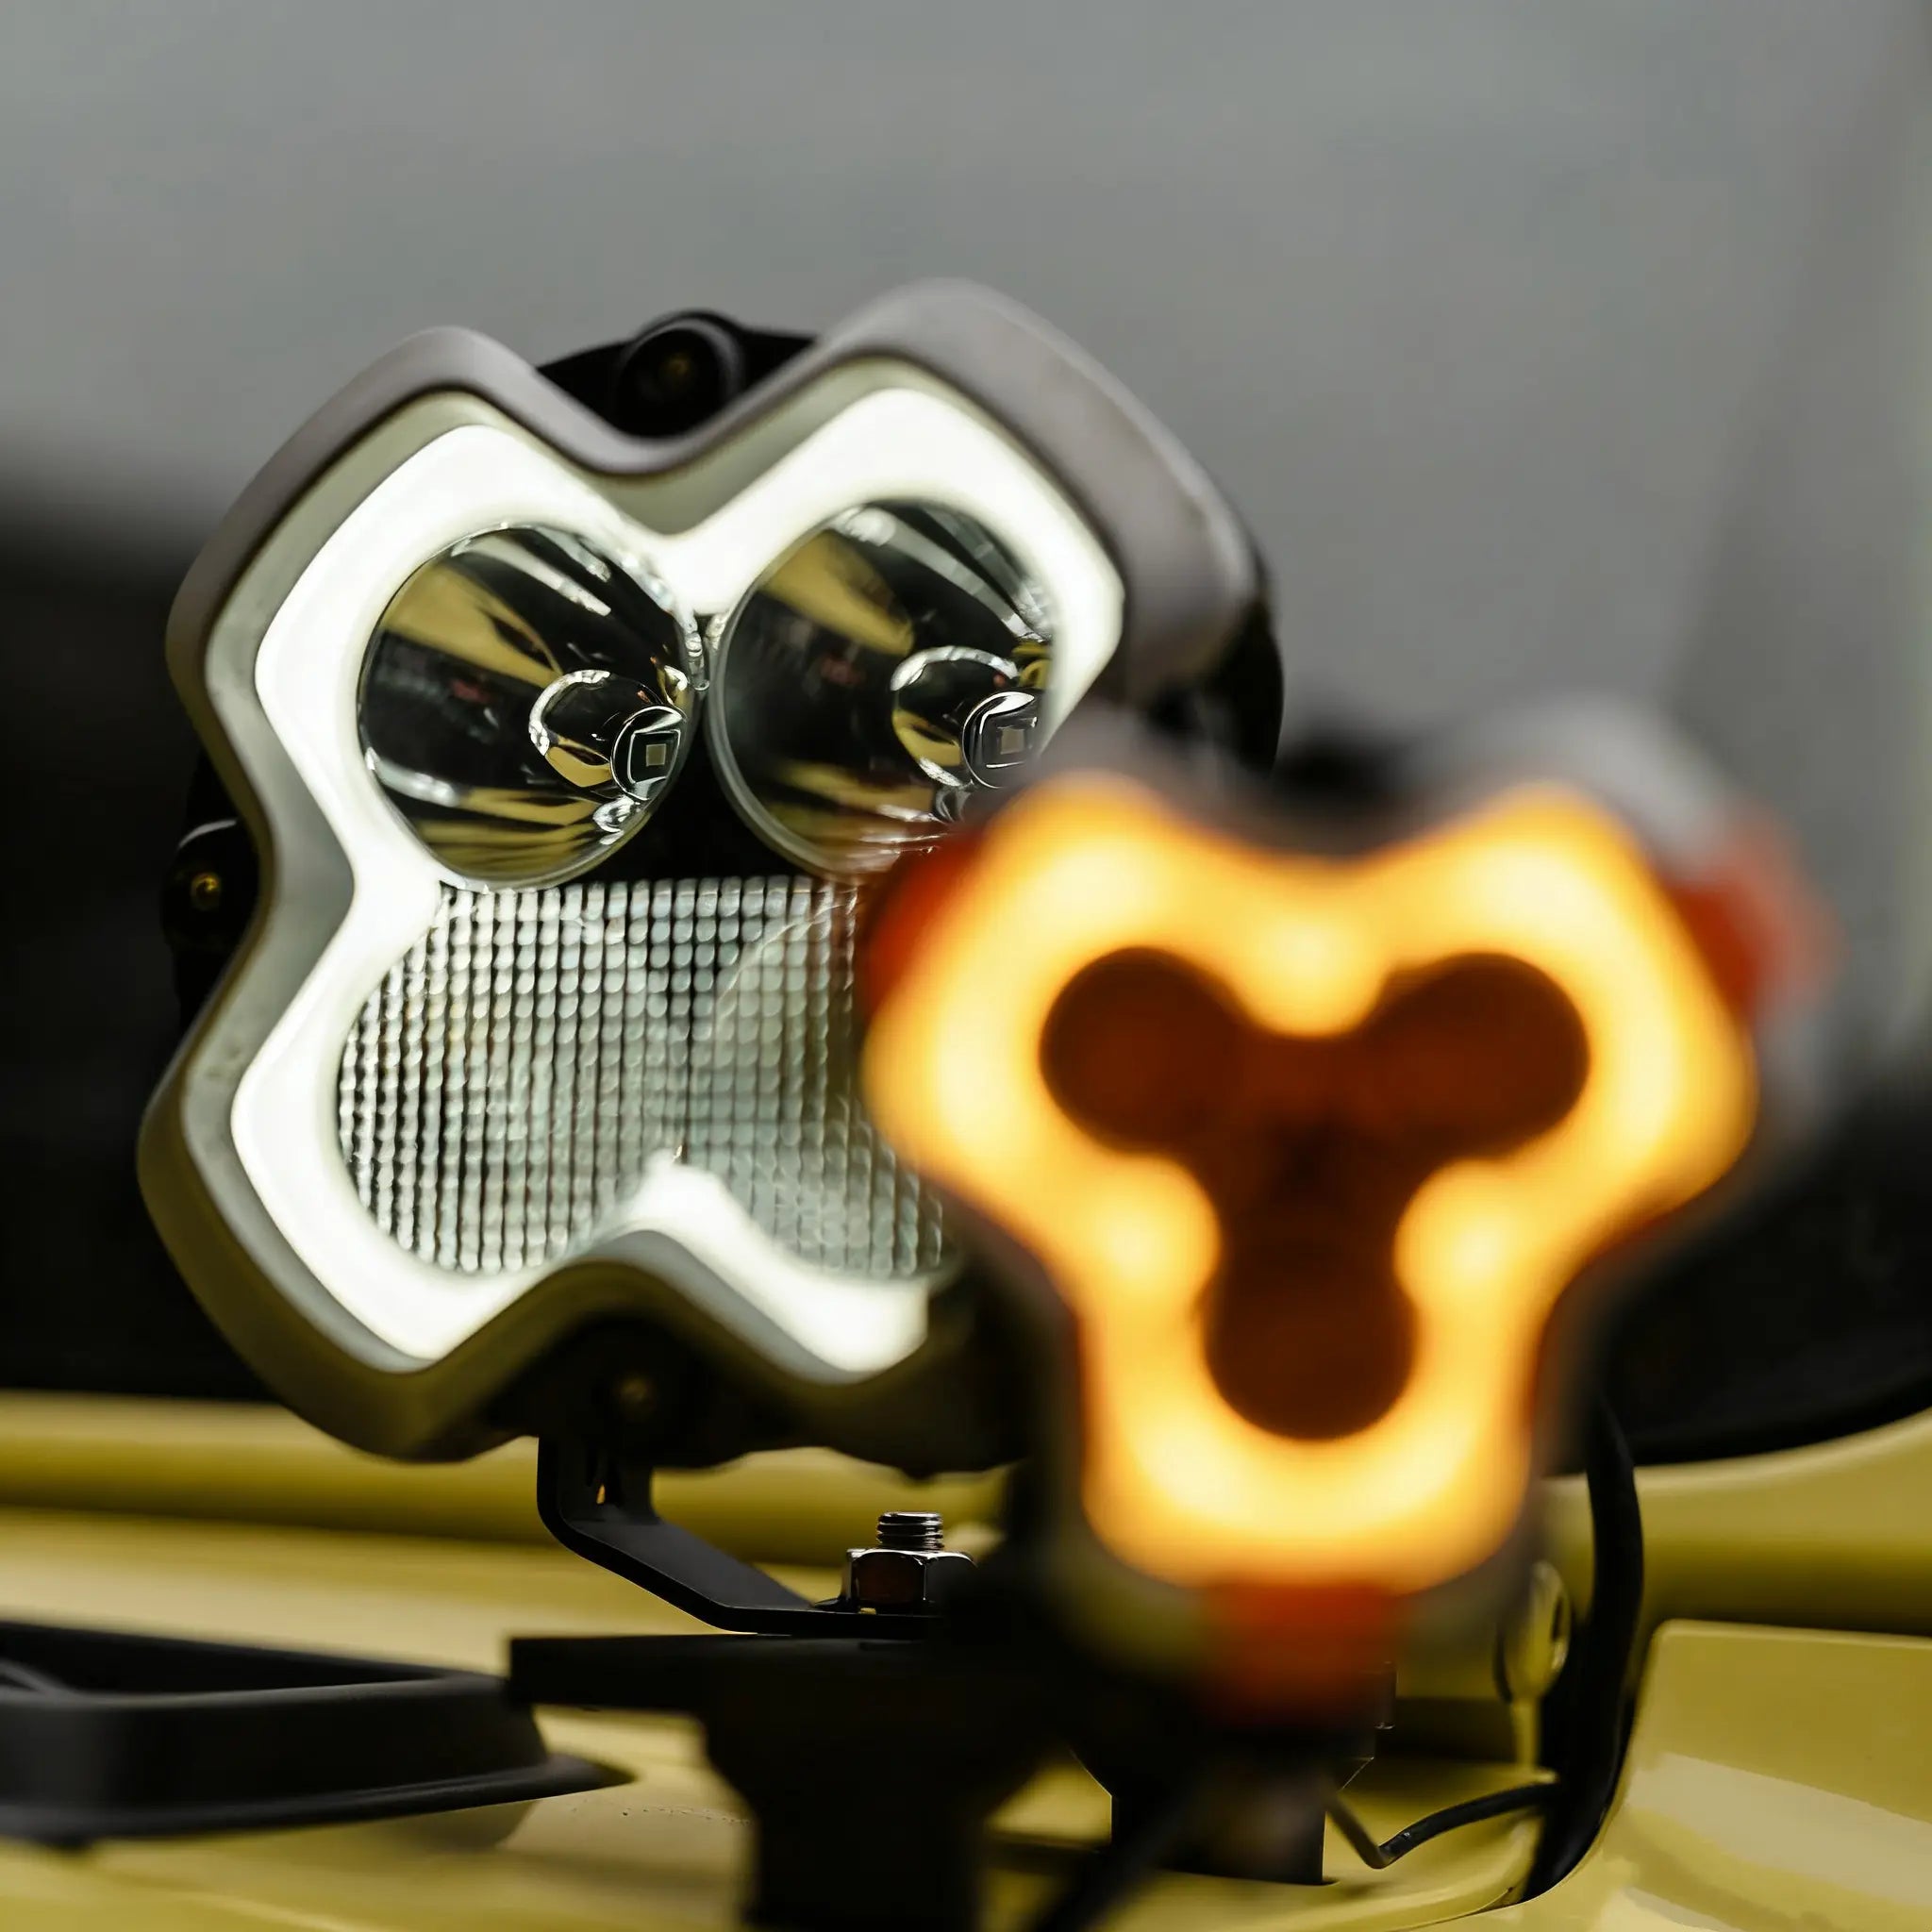
The HALO SE series off-road pod lights feature both red and white daytime running lights (DRLs), which can be controlled via the original controller. Therefore, some users choose to connect the black and red wires from the original HALO SE wiring harness to a multi-switch control panel—instead of using the original harness’s controller to operate the lights.
If you want to control the HALO SE off-road lights directly via a control panel, you will need to splice the HALO SE wires, extract four wires from the harness, and connect these four function-specific wires to the multi-switch control panel. This setup allows each button on the panel to correspond to a specific light function.
Working Principle
By directly connecting the four different HALO SE wires to separate ports on the control panel, each button on the panel can directly activate a distinct lighting function of the HALO SE.
Note: To connect the HALO SE to the control panel, you must disconnect the original wiring harness. Strip the insulation from the relevant wires—one main harness will yield four color-coded function wires (total of 4 wires)—and connect these to the ports on the control panel.
Prerequisites
A critical prerequisite for this HALO SE wiring splicing installation, that First disconnect the vehicle’s power supply. Connect the multi-switch control panel to the vehicle’s battery before starting the HALO SE wiring.
If you have not yet installed the switch control panel in your vehicle, refer to the following tutorial videos:
Novsight Bluetooth Control Panel Installation Tutorial: https://www.youtube.com/watch?v=V8kqZtToU5o
Novsight HALO Series Voice-Controlled Switch Panel Installation Tutorial: https://www.youtube.com/watch?v=2SIlYlM9Pfg
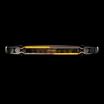
Step 1: Locate and Cut the HALO SE Harness Connected to the Off-Road Light
HALO SE Harness Diagram Reference

Cut the harness at the two ports that connect to the off-road light. Leave only one section of the harness that links these two ports intact.

Discard the remaining parts of the harness (including the original controller and fuse)—these components are no longer functional once the harness is cut.


After cutting, you will see four color-coded wires inside the harness: red, black, white, and yellow.


Step 2: Identify the Function of Each HALO SE Color-Coded Wire
The four color-coded wires of the HALO SE correspond to specific functions:
- Black wire: Negative (ground) connection; Red wire: Positive connection (controls the white main light source).
- White wire: Connection for controlling the white DRL switch.
- Yellow wire: Connection for controlling the red DRL switch.


Step 3: Connect the Four Wires to the Switch Panel Ports
Follow these guidelines to connect the HALO SE wires to the control panel
- The red wire controls the main light’s on/off function. The red and black wires must be connected to the same channel—connect the red wire to the positive terminal and the black wire to the negative (ground) terminal.
- The white wire (for white DRL control) connects to a single channel—only the positive terminal needs to be connected; no negative (ground) connection is required.
- The yellow wire (for red DRL control) connects to a single channel—only the positive terminal needs to be connected; no negative (ground) connection is required.


Important Note: The red and black wires must be installed in the same channel/port. Additionally, the port’s amperage rating must be 20A or higher.
Step 4: Connect the Harness to the Off-Road Light’s Harness Port
The off-road light itself comes with a dedicated wire harness. Simply align and connect the ports of the two harnesses (the HALO SE harness and the light’s harness) to each other.


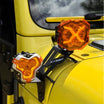
Step 5: Mount the Off-Road Lights on the Vehicle
Securely fasten the off-road lights in your desired position on the vehicle.

Note: The order of this step can be adjusted—you may also choose to mount the off-road light to your vehicle at the very beginning.
Step 6: Test the Lights for Proper Functionality
After completing Step 1 and Step 5:
Reconnect the vehicle’s power supply and start the vehicle. Verify that each button on the control panel correctly activates its corresponding HALO SE lighting function.
Recap: HALO SE Wire Functions
To reinforce the wire functions (for reference during testing):
- Black wire: Negative (ground); Red wire: Positive (controls the white main light source).
- White wire: Controls the white DRL switch.
- Yellow wire: Controls the red DRL switch.

Testing Different Lighting Modes
Test each function as follows:
- Button connected to the yellow wire: Controls the red DRL (a short press of the button will turn it on).

- Button connected to the white wire: Controls the white DRL (a short press of the button will turn it on).

- Button connected to the red wire: Controls the white main light source (a short press of the button will turn it on).

- Buttons connected to the yellow + red wires: Activate both the white main light and red DRL (can be turned on simultaneously).

- Buttons connected to the white + red wires: Activate both the white main light and white DRL (can be turned on simultaneously).

Critical Note: The white DRL and red DRL cannot be turned on at the same time.

Conclusion
While this HALO SE wiring splicing installation involves multiple steps, it is not complicated. The key challenges are:Memorizing the function of each color-coded wire. Correctly connecting the wires to the control panel ports.
Reminder: Some multi-switch control panels may lack strobe or momentary modes. Availability depends on the brand and model of the panel you purchase.
Relevant Installation Video Links:
- HALO Pro Hardwired Installation to Bluetooth Switch Panel: https://www.youtube.com/watch?v=OamqPAzaIyE
- HALO Pro Series connect to Voice-Controlled Switch Panel:https://www.youtube.com/watch?v=2SIlYlM9Pfg
- HALO SE Connect to Switch Control Panel:https://www.youtube.com/watch?v=hGGAjQRVRGE
- X Series 4-Inch LED Pod Lights Connect to Switch Control Panel:https://www.youtube.com/watch?v=z2c8Mszw5Fk
- Cyber 6-inch Use Switch Panel Kit Connection Tutorial:https://www.youtube.com/watch?v=nFfv9Go9mSs
- For Multiple HALO Versions connect to Voice-Controlled Switch Panel:https://www.youtube.com/watch?v=XigJtwcFxuI
Purchase Links
Shop HALO SE Series LED Pod Lights: https://www.novsights.com/collections/halo-se-series-off-road-pod-lights
Shop Novsight Switch Panels: https://www.novsights.com/collections/switch-panel
Leave a comment
All comments are moderated before being published.
This site is protected by hCaptcha and the hCaptcha Privacy Policy and Terms of Service apply.