
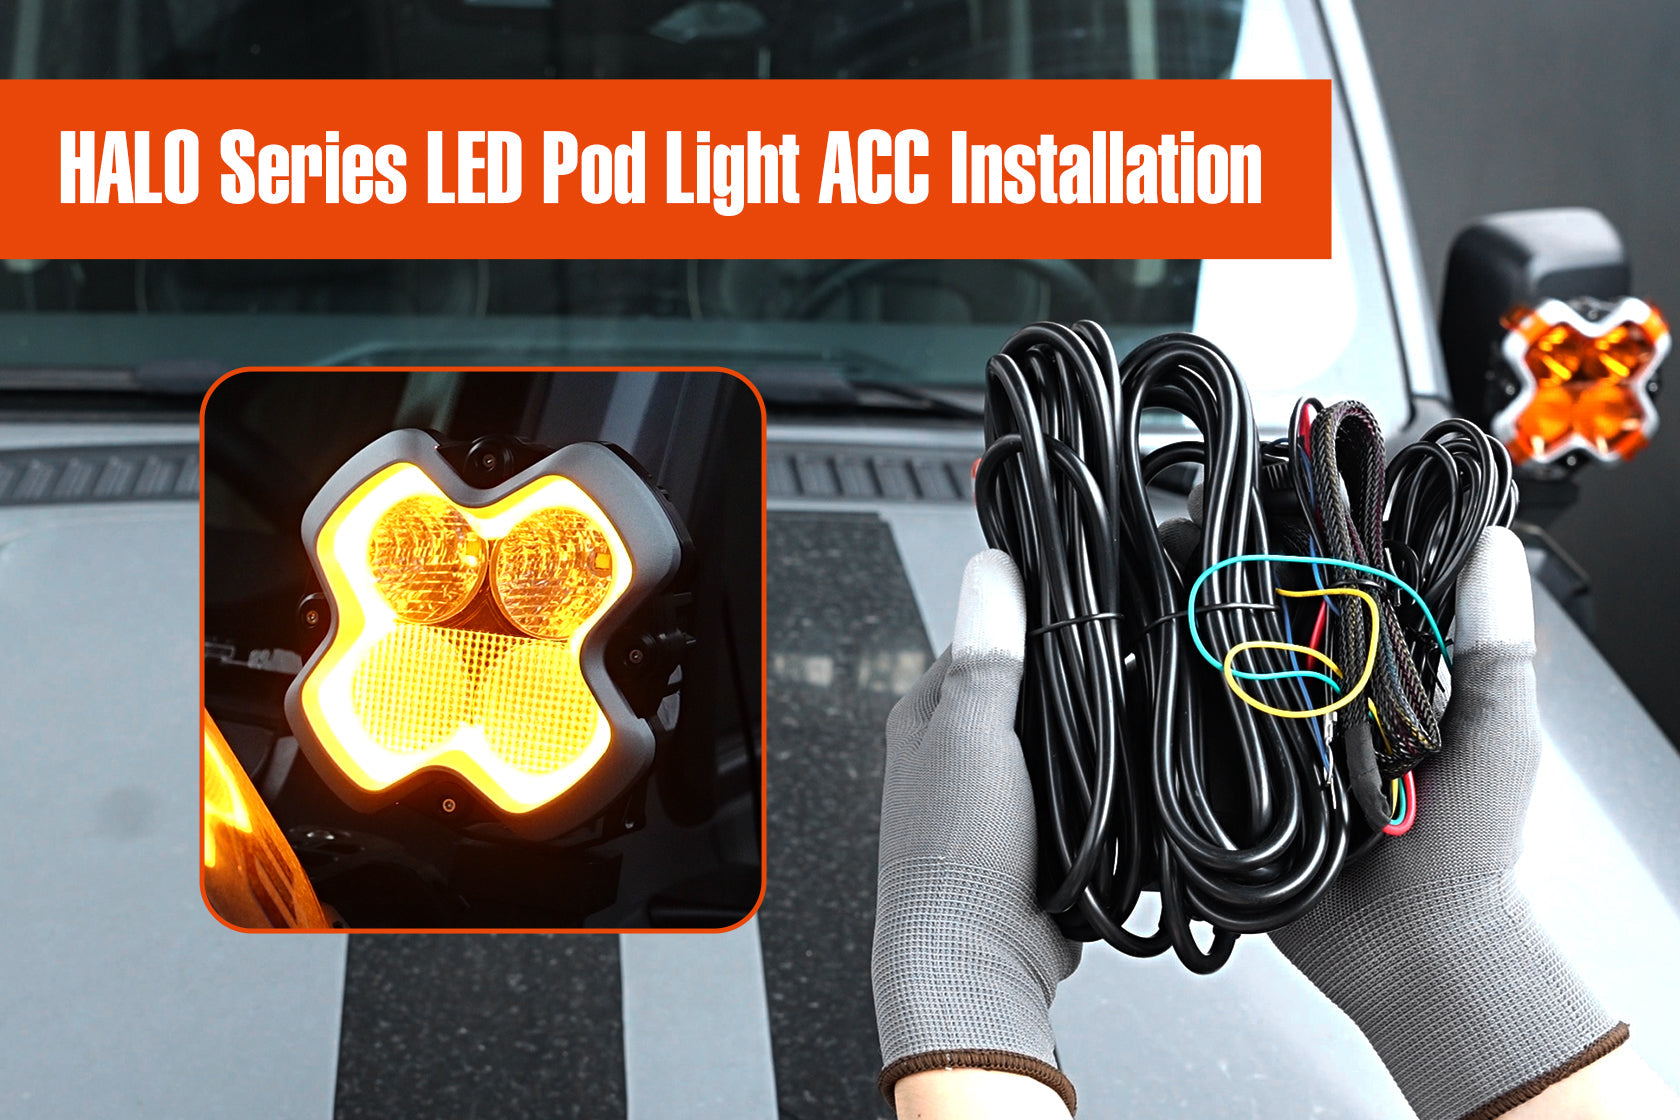
Erfahren Sie in dieser Schritt-für-Schritt-Anleitung, wie Sie Ihre NOVSIGHT Halo PRO Scheinwerfer installieren und synchronisieren. Enthält Schaltpläne, DRL-Synchronisationstests und Tipps zur Fehlerbehebung für vorinstallierte und kundenspezifische Verkabelungen.

1. Vorinstallation: DRL-Synchronisationstest
⚠️ Wichtiger Schritt: Testen Sie die Synchronisation immer vor der endgültigen Installation.
Warum dieser Test wichtig ist
- Stellt sicher, dass beide Scheinwerfer im selben DRL-Modus (gelb/weiß) arbeiten
- Verhindert unpassende Beleuchtung nach der Installation
- Überprüft die korrekte Verkabelung und Steuerungsfunktionalität
Testaufbau
🔌 Erforderliche Komponenten:
- 2× Halo PRO Scheinwerfer
- Kabelbaum (vorkonfektioniert oder kundenspezifisch)
- 12-V-Stromquelle (Batterie oder Fahrzeugstrom)
Schritt-für-Schritt-Testprozedur
- Lichter anschließen
-
- Schließen Sie beide Scheinwerfer an denselben Kabelbaum an.
- 🔴 Rotes Kabel → Batterie Plus
- ⚫ Schwarzes Kabel → Batterie Minus
- ⚪ Weißes Kabel → Batterie Plus (bei Verwendung eines vorkonfektionierten Kabelbaums)
- Einschalten & Beobachten
-
- Schalten Sie das System ein – der Standard-DRL-Modus sollte durchgehend gelb sein.
-
Testen des Moduswechsels

- Der Knopf links im Bild ist der Schalter für die Hauptlichtquelle, und der Knopf rechts ist der Tagfahrlicht-Knopf
-
- Drücken Sie kurz die [DRL-Taste], um die Modi zu wechseln: Modus Eins: Gelb, Modus Eins: Weiß. Modus Zwei: Gelb, Modus Zwei: Weiß...
- Beide Lichter sollten sich gleichzeitig ändern.
- Zurücksetzen, falls nicht synchron
-
- Wenn Lichter unterschiedliche Modi anzeigen:
-
Langes Drücken der [Haupttaste] für 5 Sekunden → DRLs setzen sich auf Modus Eins: Gelb zurück und bleiben durchgehend an.
- Kurzes Drücken der [DRL-Taste] zur Bestätigung der Synchronisation – beide sollten nun übereinstimmen.
✅ Test bestanden? Fahren Sie mit der Installation fort.
2. Installationsmethoden
Option 1: Vorkonfektionierter Kabelbaum (Plug & Play)
Am besten geeignet für: Schnellen, problemlosen Aufbau
Komponenten:
-
Batterieanschluss
- 🔴 Rot → Plus
- ⚫ Schwarz → Minus
- ⚪ Weiß → Plus (Sicherheitsbackup)
-
Steuergerät
- Decodiert Signale & stabilisiert die Spannung
-
Tastenfunktionen
-
[ Hauptlichttaste]
- Kurzes Drücken: Ein/Aus
- 5 Sek. Drücken: DRL-Synchronisation zurücksetzen
-
[ DRL-Taste]
- Kurzes Drücken: Modi wechseln (Gelb-Weiß)
- Langes Drücken: Ausschalten
-
[ Hauptlichttaste]
✅ Vorteile: Kein Schneiden, stabile Leistung, anfängerfreundlich
Option 2: Kundenspezifische Verkabelung (Fortgeschritten)
Am besten geeignet für: Integration in vorhandene Schalttafeln
Schritte:
- Kabelbaum zuschneiden → 4 Drähte freilegen:
-
- 🟡 Gelb (DRL ein/aus)
- ⚪ Weiß (DRL-Modussteuerung)
- 🔴 Rot (Hauptscheinwerferstrom)
- ⚫ Schwarz (Masse)
-
Drahtverbindungen
- ⚫ Schwarz → Batterie Minus
- 🔴 Rot → Batterie Plus (Hauptstrom)
- ⚪ Weiß → Schalter Plus (DRL-Modussteuerung) & DRL-Reset über weißes Kabel (5-Sek.-Druck)
- 🟡 Gelb → Schalter Plus (DRL ein/aus)
⚠️ Wichtige Hinweise:
- Funktioniert nur mit Taster-Schaltern (nicht Kipp-/OEM-Schaltern)
- Kein Steuergerät → Weniger Spannungsstabilisierung
✅ Vorteile: Anpassbare Schalterintegration
Fazit
Egal, ob Sie sich für die Plug-and-Play-Einfachheit oder die Flexibilität einer kundenspezifischen Verkabelung entscheiden, diese Anleitung gewährleistet eine reibungslose Installation. Testen Sie immer zuerst die DRL-Synchronisation, befolgen Sie die Schaltpläne sorgfältig und konsultieren Sie bei Bedarf die Tipps zur Fehlerbehebung.
📞 Benötigen Sie Hilfe? Kontaktieren Sie den NOVSIGHT Support: service@novsight.com

Hinterlasse einen Kommentar
Alle Kommentare werden vor der Veröffentlichung geprüft.
Diese Website ist durch hCaptcha geschützt und es gelten die allgemeinen Geschäftsbedingungen und Datenschutzbestimmungen von hCaptcha.