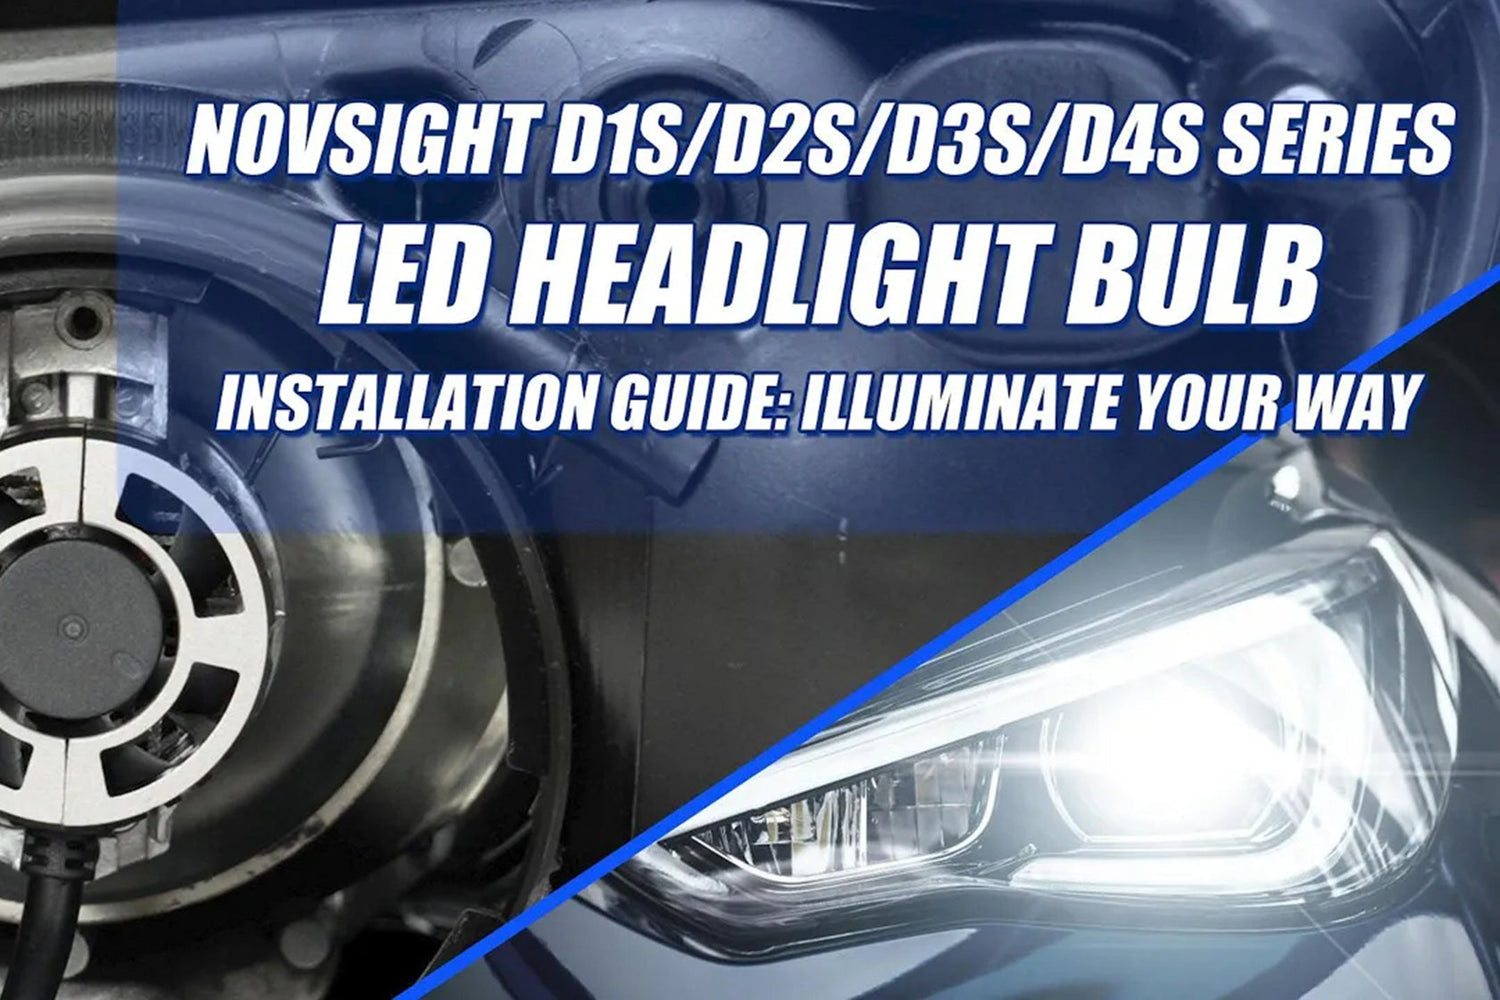
N60-D Series Bulb Installation Tutorial
Table of Contents
- What the D1S D2S D3S D4S HID Bulb Looks Like?
- Common Vehicle Models Using D1S D2S D3S D4S Bulbs
- N60-D Bulb Installation Tutorial
- Points to Pay Attention To
- YouTube N60 D Series D1S D2S D3S D4S Bulb Installation Video
What the D1S D2S D3S D4S HID Bulb Looks Like?


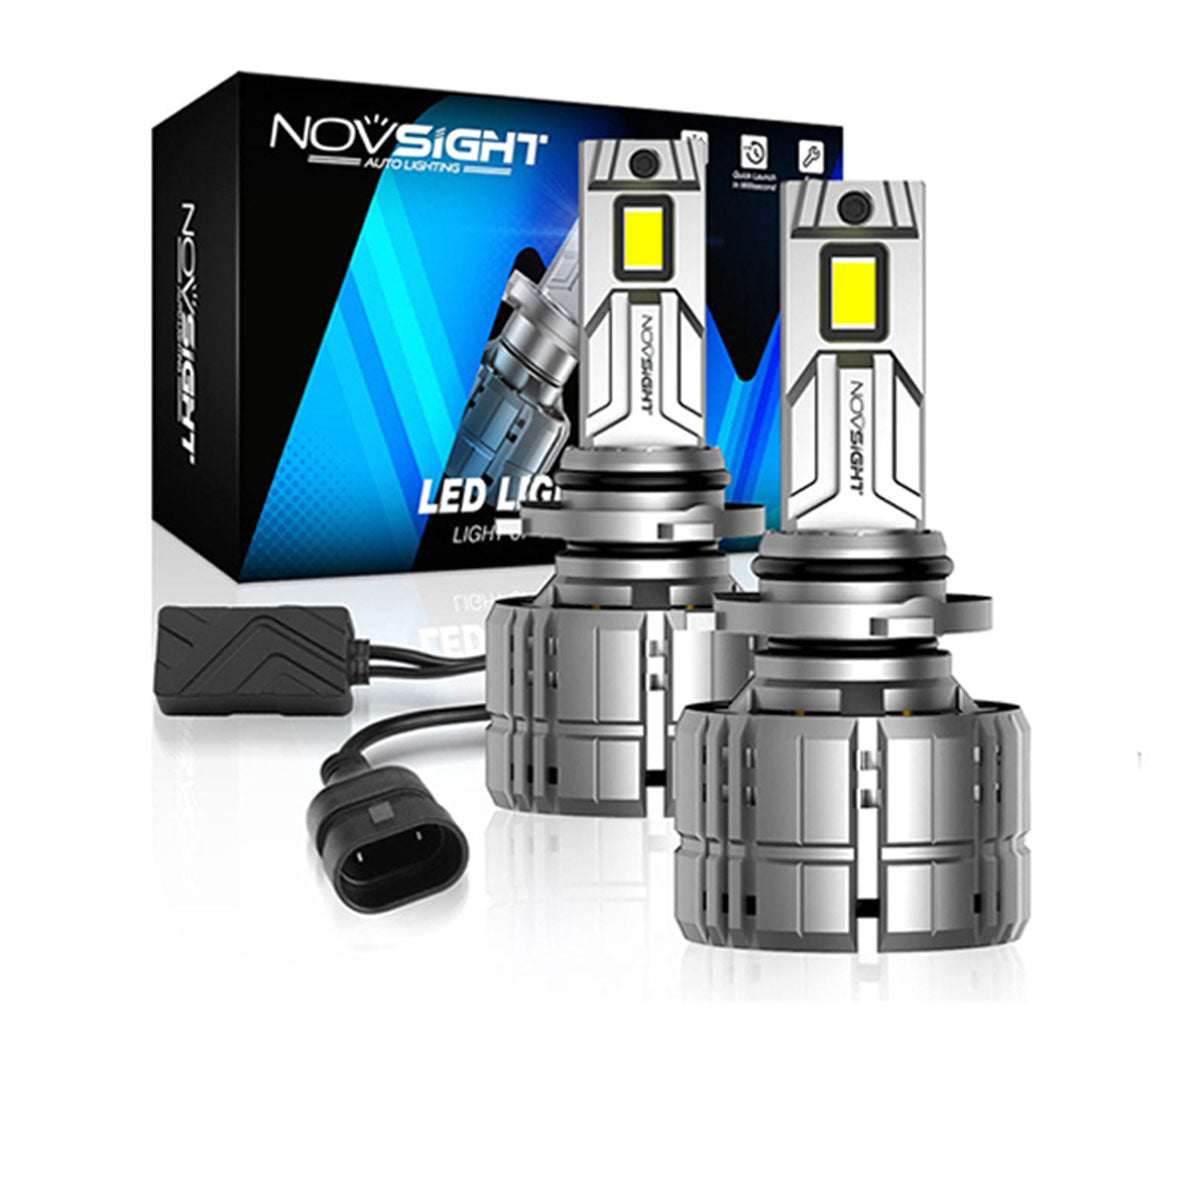
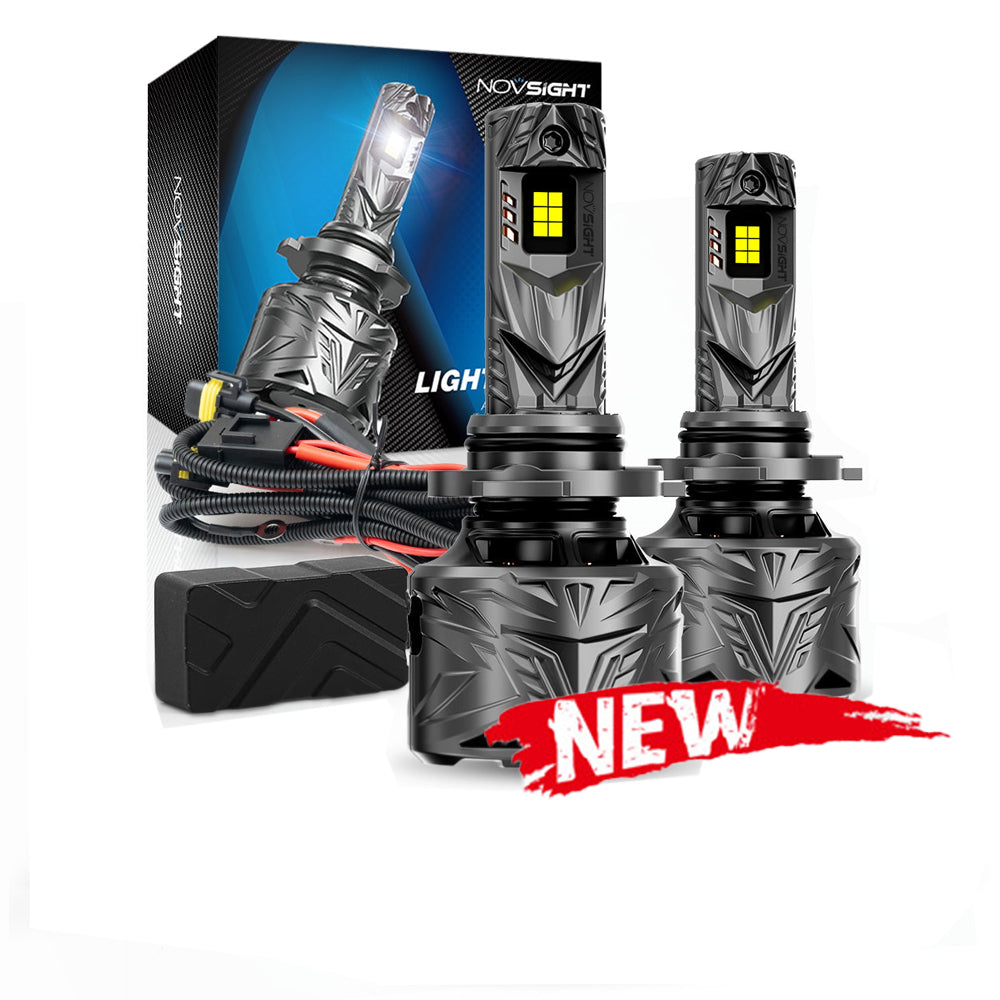
N60 D1S: Features a built-in driver (integrated with the bulb base) and a metal base with two positioning pins—direct replacement for original D1S HID bulbs, ideal for European luxury vehicles.
N60 D2S: Comes with an external compact driver (separate from the bulb) and uses a plastic locking base—compatible with vehicles originally equipped with D2S HID bulbs (common in Japanese/Korean mid-range models).
N60 D3S: A mercury-free, eco-friendly LED variant with a built-in driver (similar to N60 D1S), designed for newer vehicle models (post-2010) that use D3S HID bulbs, meeting strict emission and energy standards.
N60 D4S: Mercury-free with an external driver (like N60 D2S) and low-power consumption—perfect for high-end Japanese luxury vehicles that use original D4S HID bulbs.
All Novsight N60 D-Series LED Bulbs have a single light-emitting module (equivalent to a single filament) and rely on their integrated or external drivers to convert the vehicle’s low-voltage power (12V/24V) to the stable current needed for LED operation—no bulky HID ballast required.
Common Vehicle Models Using D1S D2S D3S D4S Bulbs
Here's a breakdown by bulb type:
- D1S: Often found in European luxury vehicles, such as many models from Audi, BMW, and Mercedes-Benz.
- D2S: A preferred bulb for luxury and performance-oriented cars, including models from Audi, BMW, Mercedes-Benz, and Lexus.
- D3S: Found in newer vehicles, such as some Ford, Audi, Porsche, and other European models like Peugeot and Toyota.
- D4S: Used in many high-end vehicles, particularly Japanese luxury brands like Lexus.
How do I find the right LED bulb for my vehicle?
There are two methods to help you find the right light bulb:
1) Click here to go to our vehicle bulb finder, enter the year, model, etc. of your vehicle to get the right bulbs for your vehicle.
2) Please contact us at service@novsight.com and tell us the year and model of your vehicle, as well as the type of headlight you are interested in, our professional customer service team will get back to you as soon as possible.
N60-D Bulb Installation Tutorial
The installation process for Novsight N60 D-Series LED Bulbs varies slightly between variants (D1S/D3S with built-in drivers vs. D2S/D4S with external drivers), but the core steps—including wire cutting and reconnection (critical for LED driver integration)—are consistent. Below is a universal guide for all N60 D-Series LED Bulbs.
Tools Needed:
1 set of Novsight N60 D-Series LED Bulbs (D1S/D2S/D3S/D4S, match your vehicle’s requirement)
Insulated gloves (to prevent skin oil contamination and protect against electrical shock)
Screwdriver (flathead/Phillips, depending on your headlight housing)
Wire cutters/strippers (for cutting and stripping old HID ballast wires)
Insulated electrical tape (for securing reconnected wires and preventing short circuits)
Heat shrink tubing (optional, for more durable wire connections)
Microfiber cloth (to clean the bulb base or headlight housing)
Wrench (for securing external drivers or brackets, if needed)
Step 1: Ensure Safety (Power Off & Cool Down)
Turn off the vehicle’s engine and all electrical systems (including headlights) to avoid live current during installation.
Wait 10–15 minutes for the old HID bulb, ballast, and headlight housing to cool down—HID components can retain high temperatures, and hot surfaces may damage the new LED bulb.
Open the hood and secure it with the prop rod to access the headlight assembly.
Step 2: Remove the Headlight Dust Cover
Locate the rear dust cover of the headlight housing (a plastic or rubber cap that protects internal components from dust/water).
For most models: Twist the dust cover counterclockwise by hand and pull it out to remove.
For models with secured covers: Use a screwdriver to remove the screws holding the cover in place, then detach the cover and set it aside.
Step 3: Disconnect and Remove the Old HID Bulb & Ballast
Disconnect the old HID ballast: Locate the HID ballast (usually mounted near the headlight housing or in the engine bay). Disconnect the ballast from the vehicle’s power source (a large 3-pin/4-pin connector) and from the old HID bulb (a small 2-pin connector).
Remove the old HID bulb: The bulb is held in place by a metal spring clip or plastic locking ring:
For spring clips: Press down on the clip (or squeeze its ends) to release it from the housing, then swing the clip aside.
For locking rings: Twist the ring counterclockwise (1/4 turn) to unlock it, then pull the ring and bulb out together.
Gently pull the old HID bulb straight out of the housing—avoid rotating or forcing it (this may damage the positioning slots).
Remove the old HID ballast (optional): If the ballast is mounted with brackets, use a wrench to remove the bolts and set the ballast aside (it is no longer needed for Novsight N60 LED bulbs).
Step 4: Wire Cutting and Reconnection for Novsight N60 LED Driver
This step is critical for integrating the Novsight N60 LED bulb’s driver with your vehicle’s electrical system (replacing the old HID ballast):
Identify vehicle wires: Locate the vehicle’s original headlight power wires (the ones that connected to the HID ballast). You will typically find two main wires: positive (+, usually red) and negative (-, usually black or white).
Cut old ballast wires: Use wire cutters to cut the wires that connected the HID ballast to the vehicle’s power source—leave 3–4 inches of wire from the vehicle’s connector for reconnection.
Strip wire insulation: Use wire strippers to remove 1/4 inch of insulation from the ends of the vehicle’s power wires and the Novsight N60 LED driver’s power wires (marked “+” and “-” on the driver).
Connect wires: Match the vehicle’s positive wire to the LED driver’s positive wire, and the vehicle’s negative wire to the driver’s negative wire. Twist the exposed copper strands together firmly.
Secure connections: Wrap each connected wire with insulated electrical tape (or slide heat shrink tubing over the connection and use a heat gun to shrink it) to prevent short circuits and water damage.
Mount the LED driver: Secure the Novsight N60 LED driver (external for D2S/D4S, integrated for D1S/D3S) in a cool, well-ventilated area near the headlight housing—avoid mounting it directly on the engine block or exhaust manifold (high heat will reduce driver lifespan). Use zip ties or the included brackets to fix the driver in place.
Step 5: Install the Novsight N60 D-Series LED Bulb
Take the Novsight N60 LED bulb (hold it by the base, not the LED chips or heat sink) and align its positioning pins with the slots in the headlight housing—this ensures the beam pattern is correctly focused (critical for road safety).
Insert the bulb fully into the housing until it clicks into place.
Secure the bulb with the original metal spring clip or plastic locking ring:
For spring clips: Swing the clip back over the bulb base and press down until it locks.
For locking rings: Insert the ring over the bulb base and twist it clockwise (1/4 turn) to lock it.Connect the LED bulb’s connector to the Novsight LED driver’s bulb
Points to Pay Attention To
Electrical Safety: Always disconnect the vehicle’s battery (optional but recommended) before cutting or reconnecting wires to avoid electrical shock. Wait 10+ minutes after turning off the headlights to ensure no residual power remains.
CAN Bus Compatibility: Some European and luxury vehicles have CAN bus systems that detect “bulb out” errors if non-OEM bulbs are installed. Use Novsight N60 D-Series CAN bus-compatible variants (marked “CAN” on the packaging) or install the Novsight CAN bus decoder to prevent error messages.
Beam Alignment: Misaligned LED beams are dangerous—always test and adjust the beam pattern after installation. If you’re unsure how to align headlights, visit a professional auto shop.
Driver Ventilation: Novsight N60 LED drivers rely on ventilation to dissipate heat. Ensure the driver is mounted in a cool, open area—blocking airflow will cause overheating and premature failure.
No Mixing Variants: Do not install a Novsight N60 D2S bulb in a D1S housing (or vice versa)—each variant is engineered for specific fitment, and mixing will cause beam misalignment or bulb damage.
Handle with Care: Never touch the LED chips or heat sink of the N60 bulb—skin oils will cause overheating and reduce LED lifespan. Use insulated gloves during installation.
YouTube N60 D Series D1S D2S D3S D4S Bulb Installation Video
For a detailed visual guide, check out this N60 D Series (covering D1S D2S D3S D4S Bulb) installation video that demonstrates each step, from removing the old bulb to securely installing the Novsight D Series. The video also provides extra tips for ensuring a smooth and hassle-free installation.
Upgrading to Novsight N60 D-Series LED Bulbs is a cost-effective way to improve driving safety and visibility—their bright, focused light reduces eye strain during nighttime or bad weather, while their long lifespan (up to 50,000 hours) means fewer replacements. By following this tutorial, you can avoid expensive auto shop fees and ensure the installation is done correctly. If you encounter any issues (e.g., error codes, dim light), contact Novsight’s support team at service@novsight.com for further assistance.








Dejar un comentario
Todos los comentarios se revisan antes de su publicación.
Este sitio está protegido por hCaptcha y se aplican la Política de privacidad de hCaptcha y los Términos del servicio.