


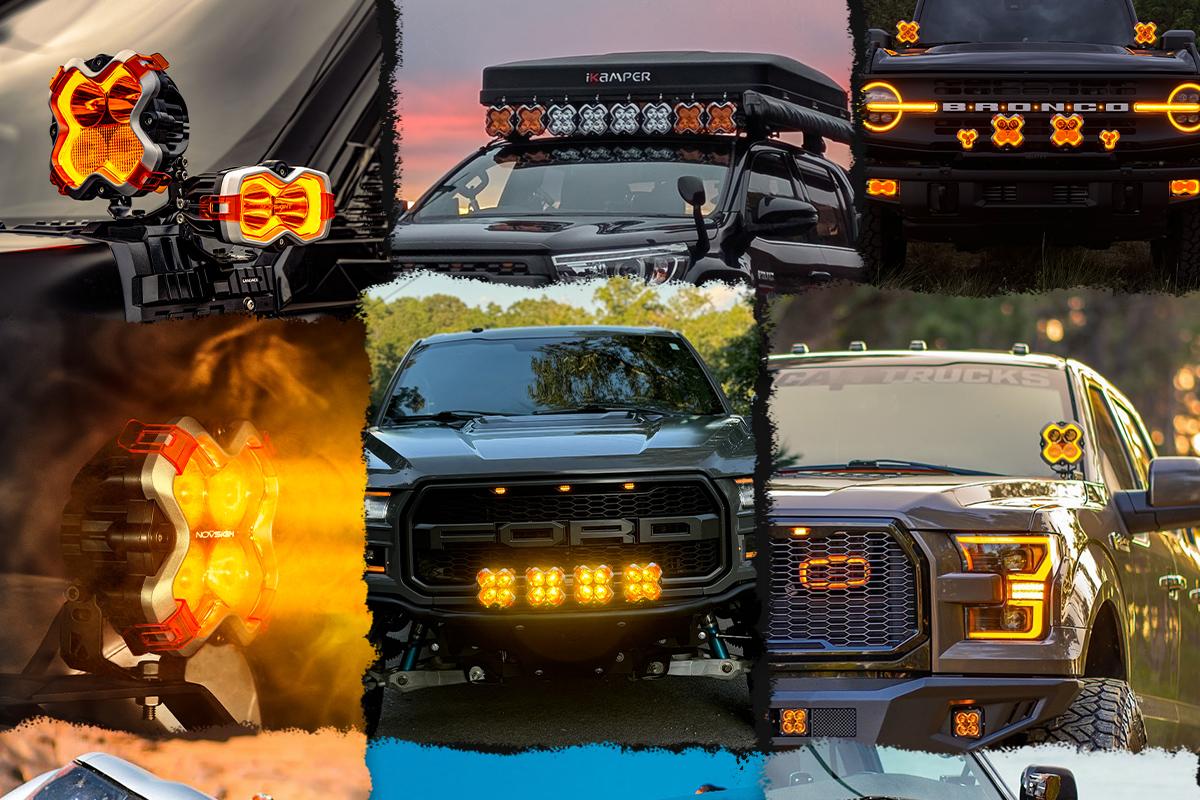
Learn how to install and synchronize your NOVSIGHT Halo PRO spotlights with this step-by-step guide. Includes wiring diagrams, DRL sync testing, and troubleshooting tips for both pre-assembled and custom wiring setups.

1. Pre-Installation: DRL Synchronization Test
⚠️ Critical Step: Always test synchronization before final installation.
Why This Test Matters
- Ensures both spotlights operate in the same DRL mode (yellow/white)
- Prevents mismatched lighting after installation
- Verifies proper wiring and control functionality
Test Setup
🔌 Required Components:
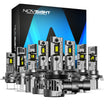
- 2× Halo PRO spotlights
- Wiring harness (pre-assembled or custom)
- 12V power source (battery or vehicle power)
Step-by-Step Test Procedure
- Connect the Lights
-
- Plug both spotlights into the same harness.
- 🔴 Red wire → Battery positive
- ⚫ Black wire → Battery negative
- ⚪ White wire → Battery positive (if using pre-assembled harness)
- Power On & Observe
-
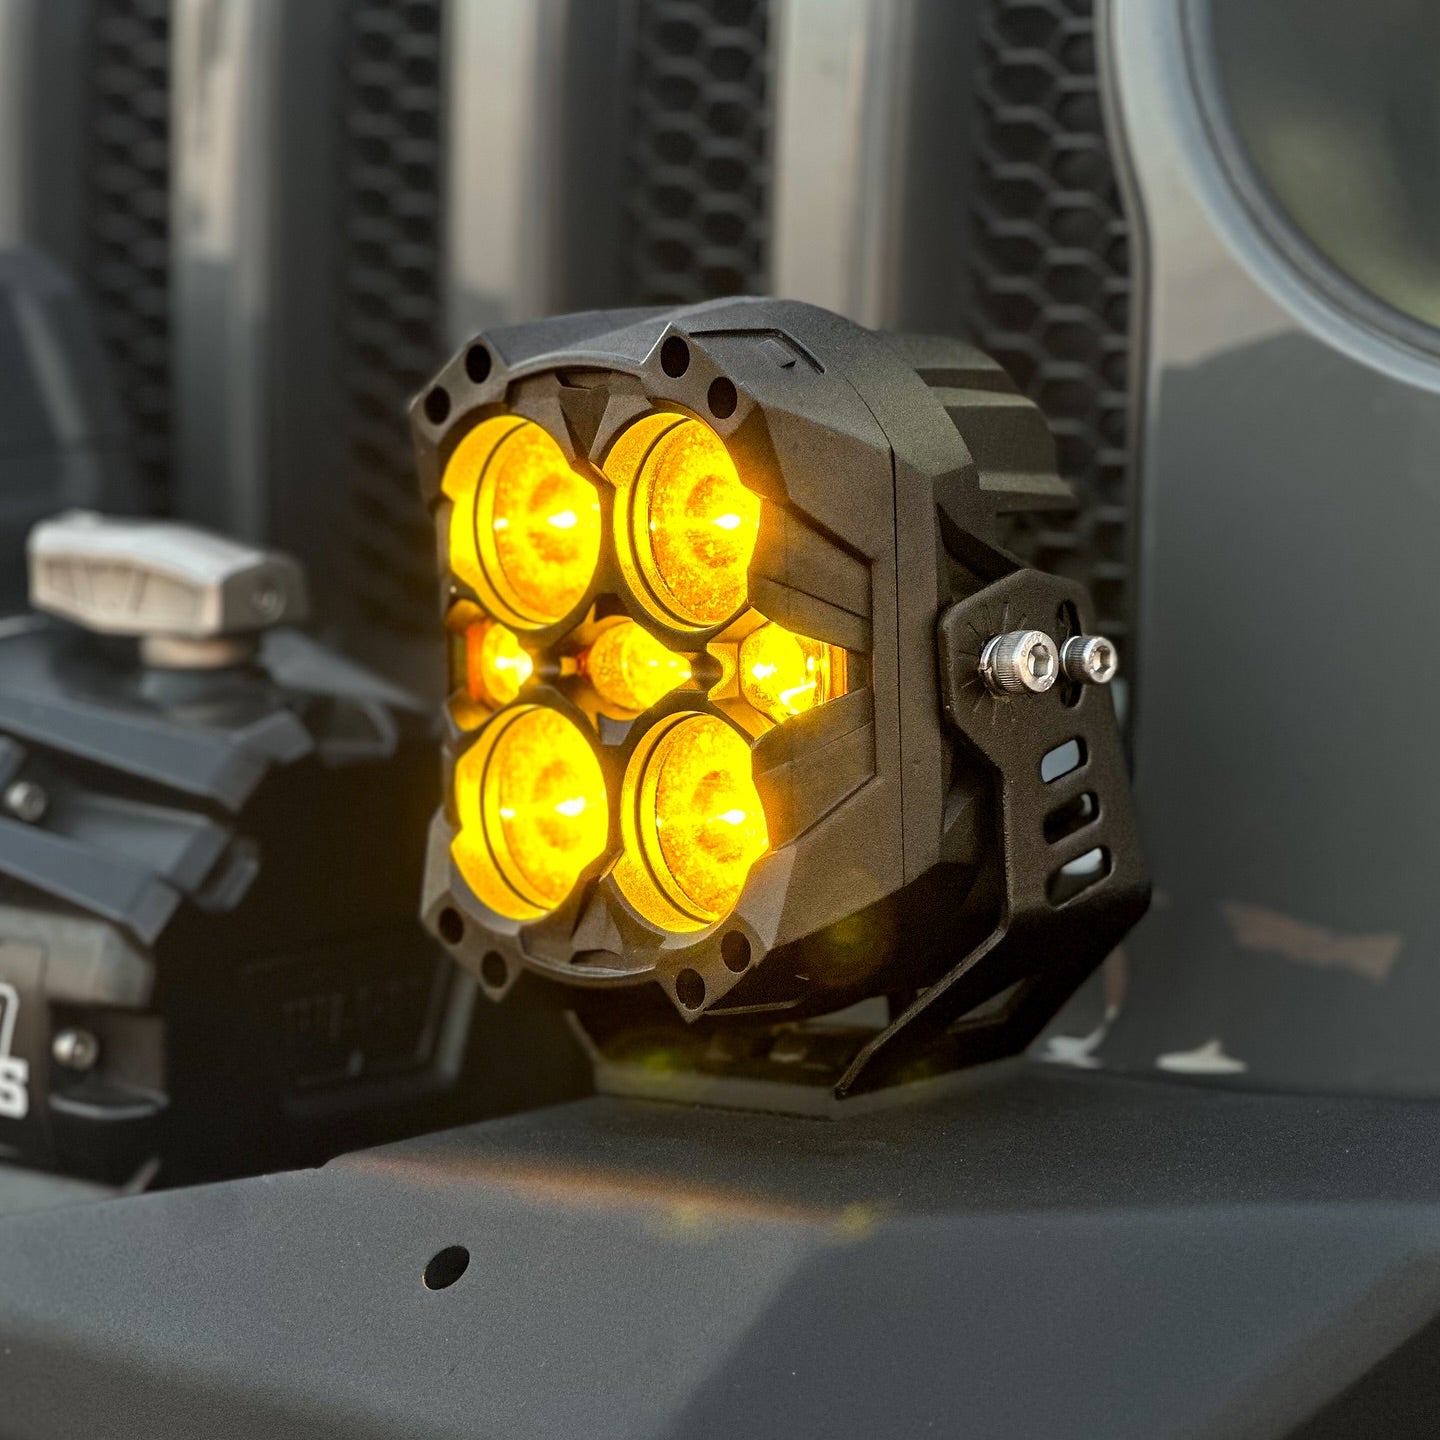
- Turn on the system—default DRL mode should be solid yellow.
-
Test Mode Switching

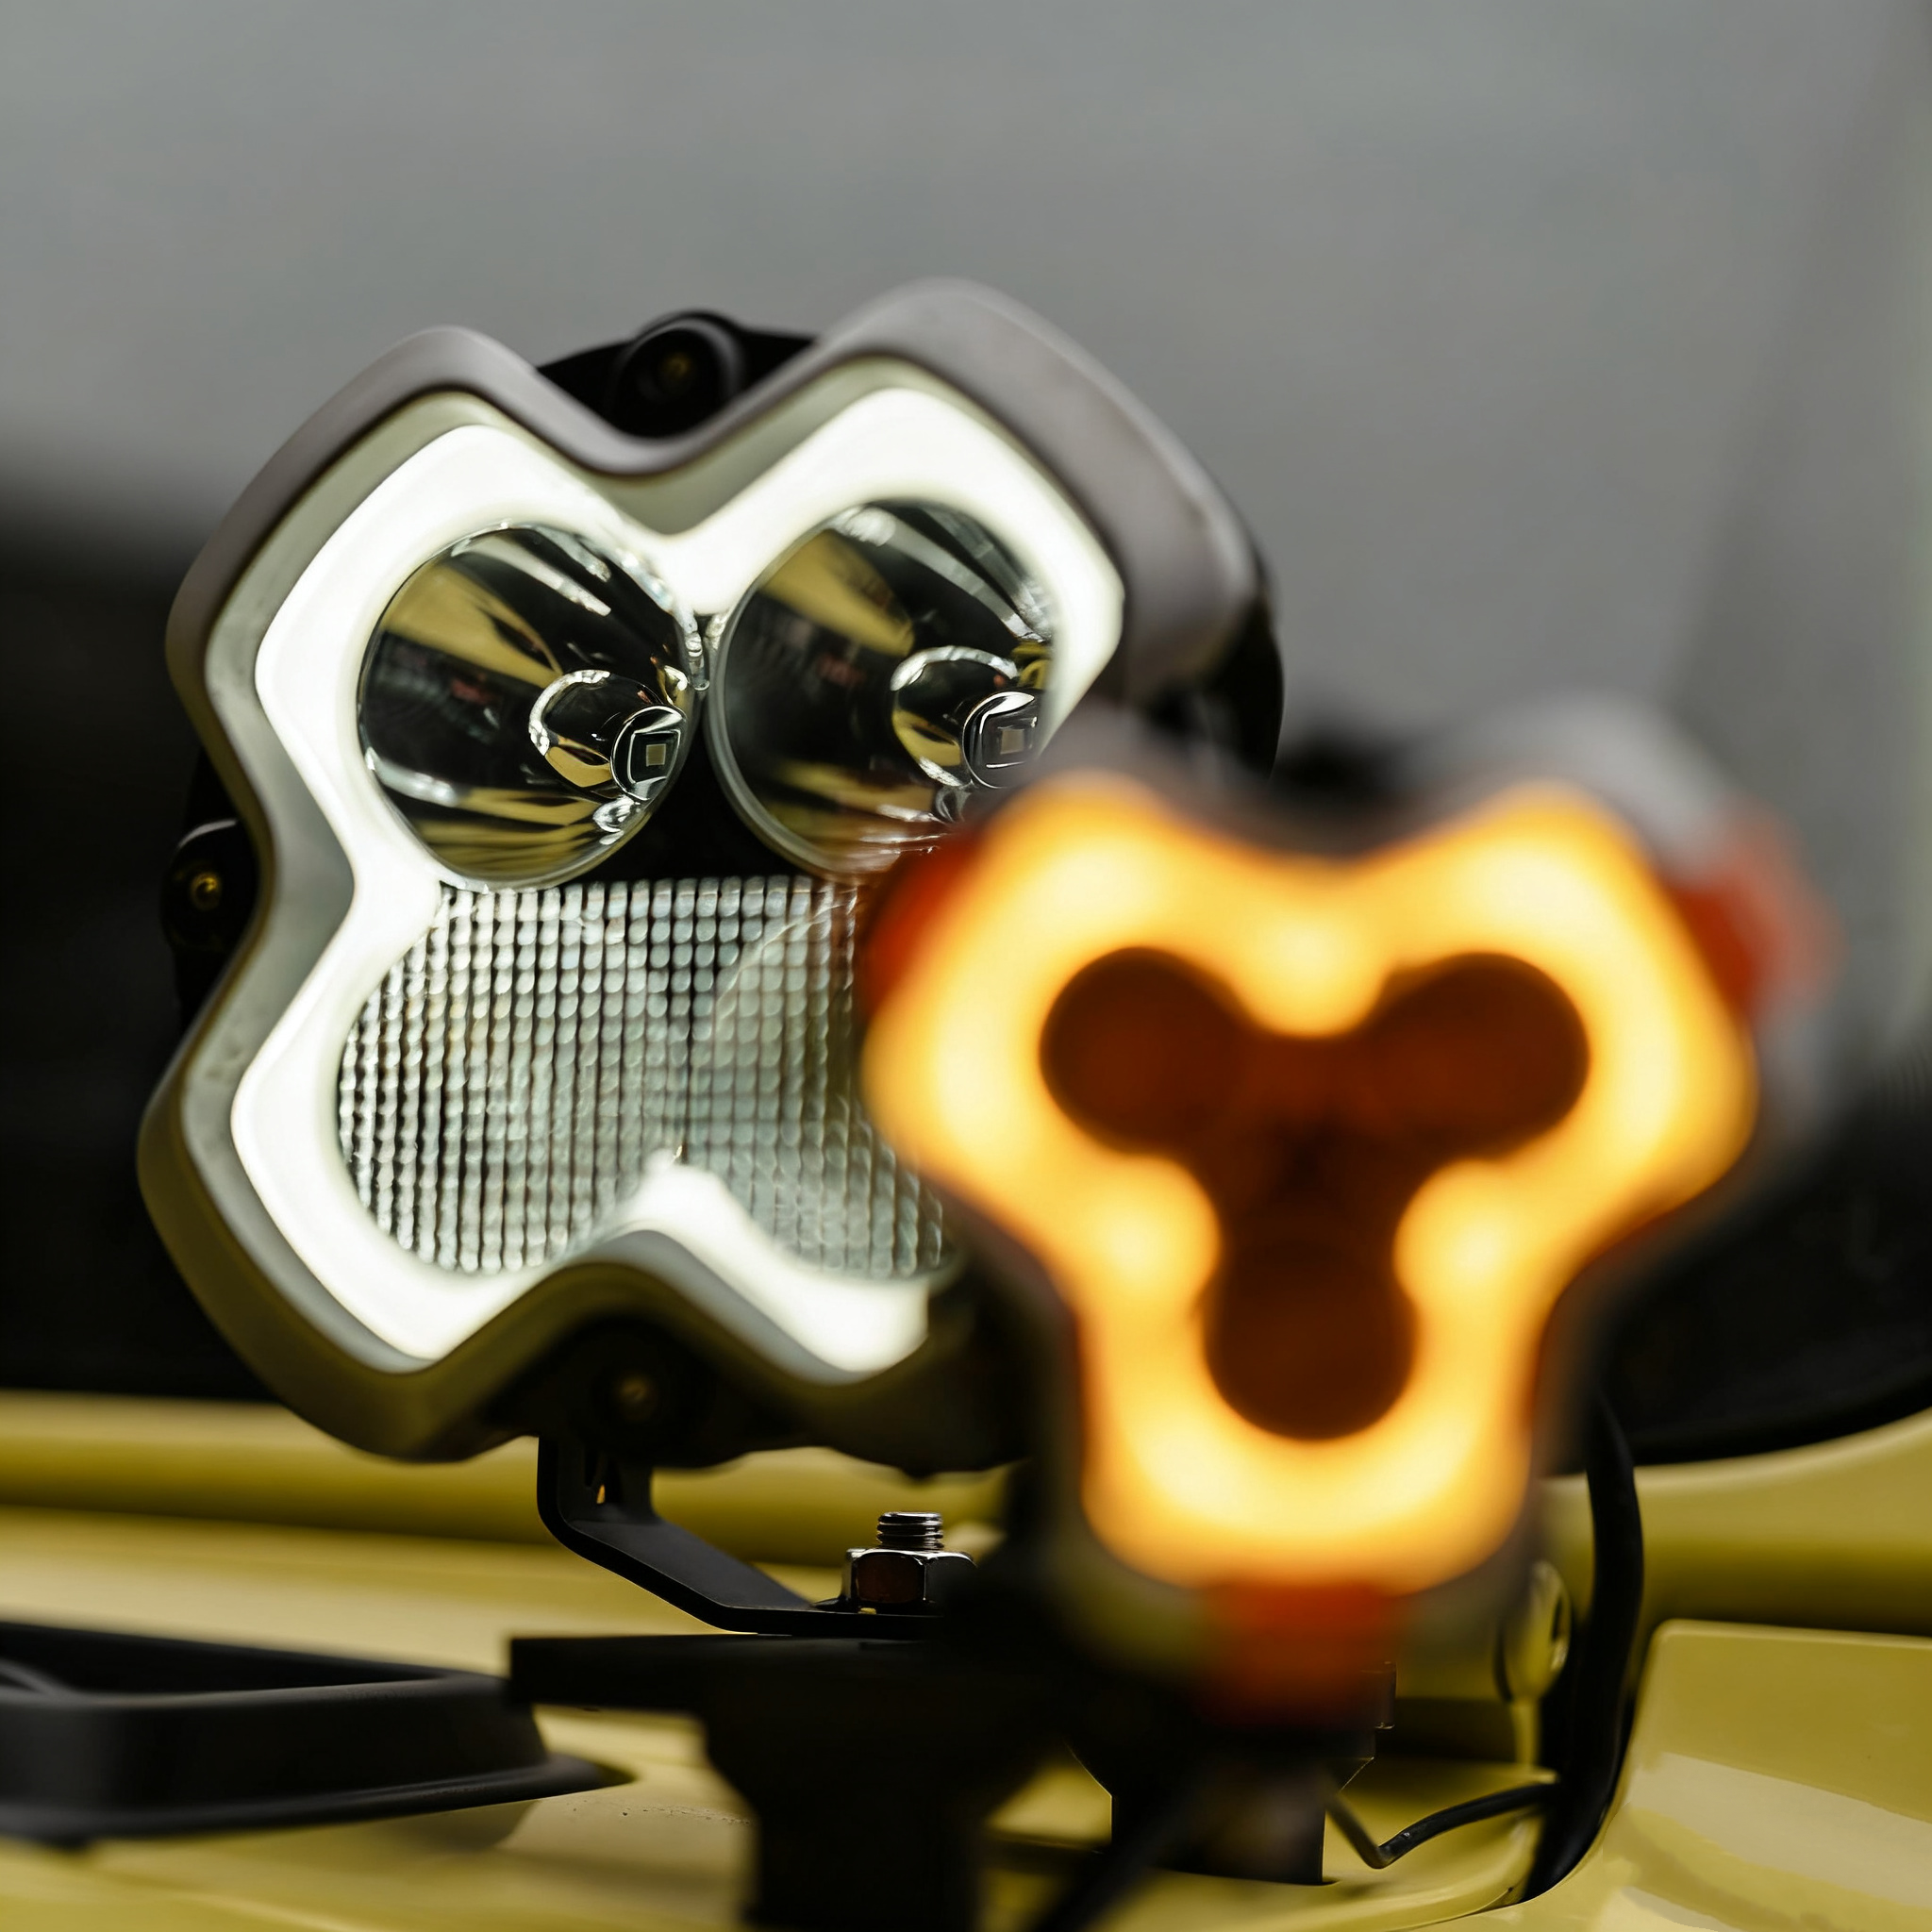
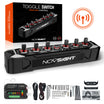
- The button on the left of the picture is the main light source switch, and the button on the right is the daytime running light button
-
- Press the [DRL button] briefly to cycle modes: Mode One: Yellow, Mode One: White. Mode Two Yellow, Mode Two White...
- Both lights should change simultaneously.
- Reset If Out of Sync
-
- If lights show different modes:
-
Long-press [Main button] for 5 seconds → DRLs reset to mode One: yellow, remaining on continuously
- Short-press [DRL button] to confirm sync—both should now match.
✅ Test Passed? Proceed to installation.
2. Installation Methods
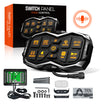
Option 1: Pre-Assembled Harness (Plug & Play)
Best For: Quick, hassle-free setup
Components:
-
Battery Connection
- 🔴 Red → Positive
- ⚫ Black → Negative
- ⚪ White → Positive (safety backup)
-
Control Module
- Decodes signals & stabilizes voltage
-
Button Functions
-
[ Main Light Button]
- Short press: On/Off
- 5-sec press: Reset DRL sync
-
[ DRL Button]
- Short press: Cycle modes (Yellow-White)
- Long press: Turn off
-
[ Main Light Button]
✅ Advantages: No cutting, stable performance, beginner-friendly
Option 2: Custom Wiring (Advanced)
Best For: Integrating with existing switch panels
Steps:
- Cut the Harness → Expose 4 wires:
-
- 🟡 Yellow (DRL on/off)
- ⚪ White (DRL mode control)
- 🔴 Red (Main spotlight power)
- ⚫ Black (Ground)
-
Wire Connections
- ⚫ Black → Battery negative
- 🔴 Red → Battery positive (main power)
- ⚪ White → Switch positive (DRL mode control) & DRL reset via white wire (5-sec press)
- 🟡 Yellow → Switch positive (DRL on/off)
⚠️ Important Notes:
- Only works with button-style switches (not toggle/OEM)
- No control module → Less voltage stabilization
✅ Advantages: Customizable switch integration
Conclusion
Whether you choose plug-and-play simplicity or custom wiring flexibility, this guide ensures a smooth installation. Always test DRL sync first, follow wiring diagrams carefully, and refer to troubleshooting tips if needed.
📞 Need Help? Contact NOVSIGHT Support: service@novsight.com


Dejar un comentario
Todos los comentarios se revisan antes de su publicación.
Este sitio está protegido por hCaptcha y se aplican la Política de privacidad de hCaptcha y los Términos del servicio.