
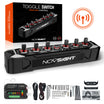
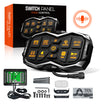
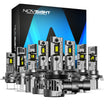


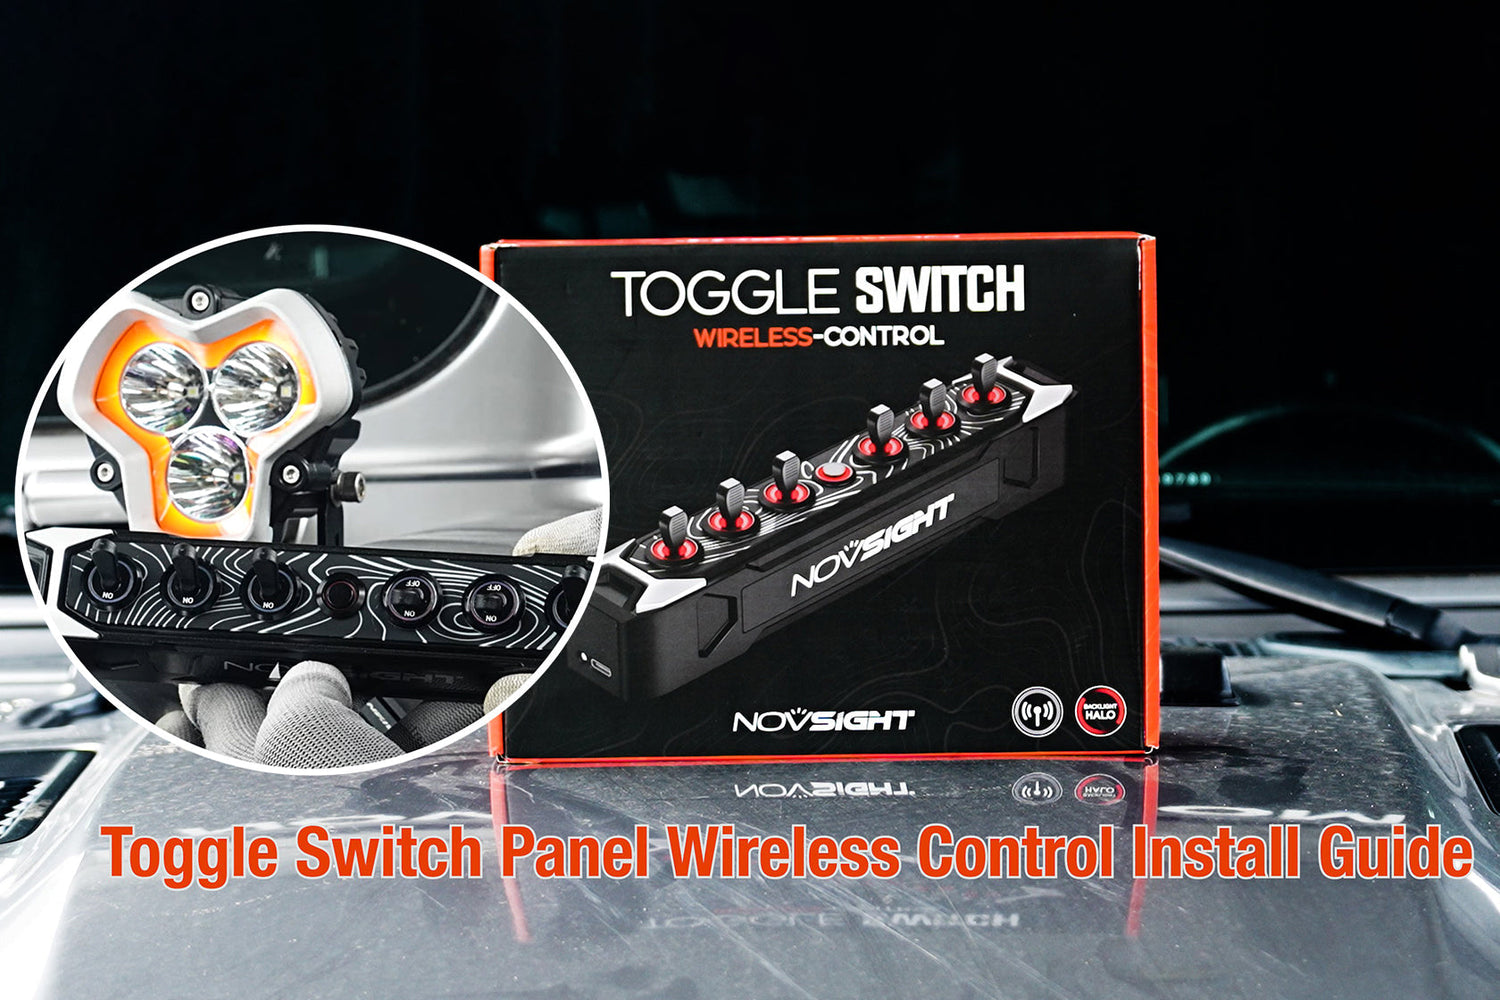
Cyber Series 6-Gang Wireless Toggle Switch Panel Installation Guide
Using HALO Pro 3-inch Off-Road Lights as an Example
Table of Contents
- Introduction
- Step 1: Prepare the Circuit Control Box
- Step 2: Power the Control Box
- Step 3: Activate the White Wire
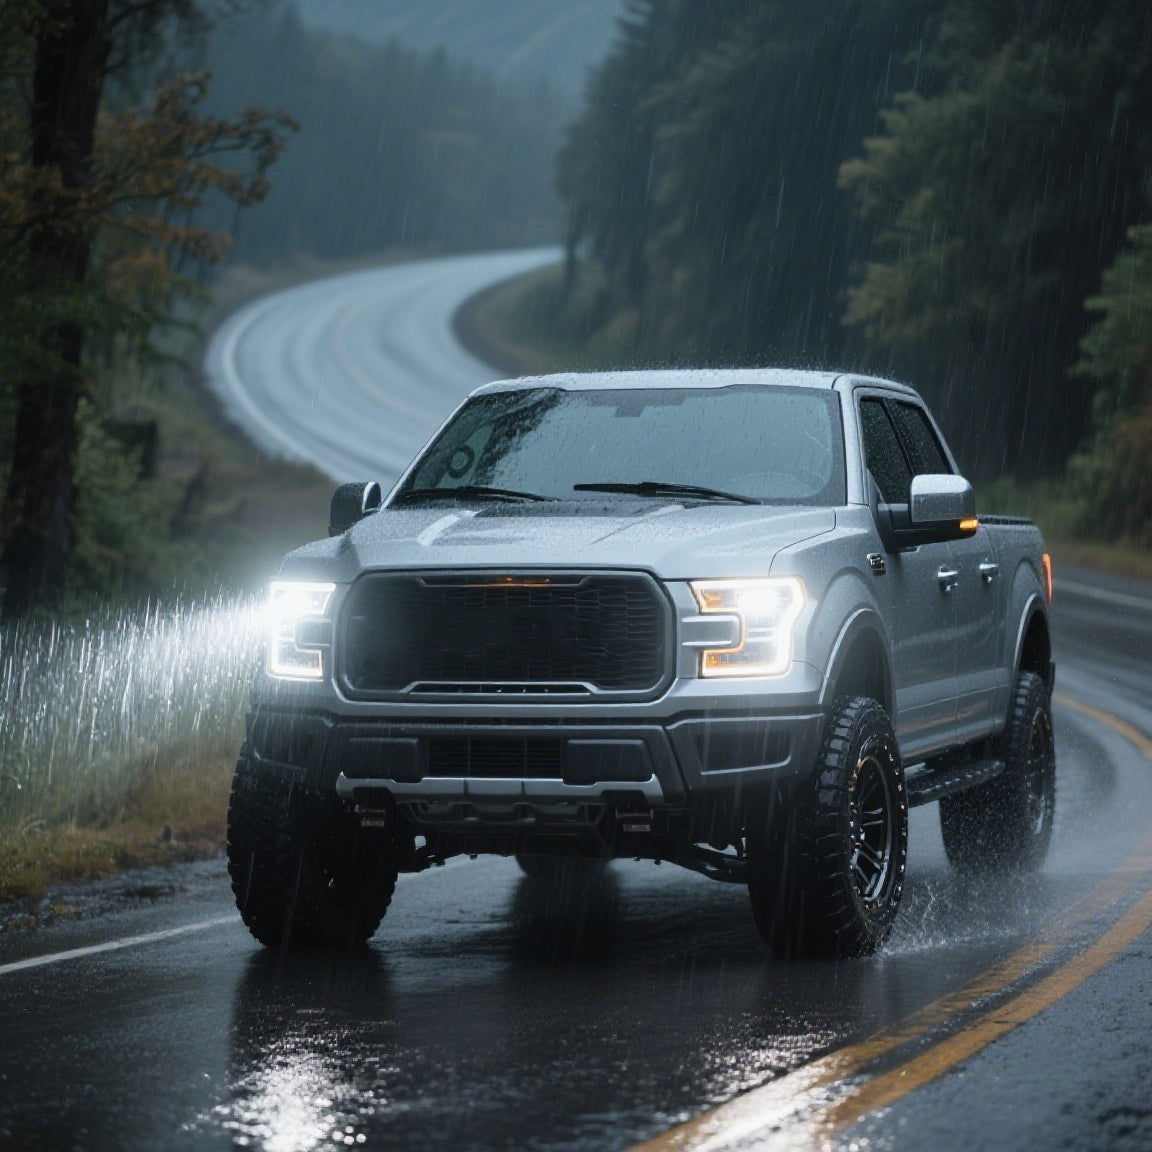
- Step 4: Wire the Off-Road Lights
- Step 5: Pair the Control Box with the Wireless Toggle
- Step 6: Test Functionality
- Key Considerations
Introduction
A multi-way switch panel is an electrical control device designed to manage the power supply of multiple circuits or devices. Key features include integrated switching, centralized operation, status indicators, and optional automation (e.g., timing). These compact panels simplify wiring and are widely used in industrial equipment, automotive systems, and smart homes.
Novsight’s automotive switch panels come in two categories: Bluetooth and Wireless.
As of 2025, Novsight offers four models:
- 6-Gang Wireless Toggle Switch Panel
- Voice-Controlled 8-Gang Switch Panel
- Bluetooth Switch Panel
- Wireless Switch Panel
For other models, refer to their dedicated guides:
- Novsight Bluetooth Control Panel Installation Tutorial: https://www.youtube.com/watch?v=V8kqZtToU5o
- Novsight HALO Series Voice-Controlled Switch Panel Installation Tutorial: https://www.youtube.com/watch?v=2SIlYlM9Pfg
Step 1: Prepare the Circuit Control Box
- Before starting installation, be sure to check whether the accessories are complete


- Connect Red (Positive) and Black (Negative) Wires to the control box’s terminals


- Secure the connections with hex nuts and bolts to ensure stability


Step 2: Power the Control Box

- Connect the red wire to the vehicle battery’s positive terminal (+)

- Connect the black wire to the battery’s negative terminal (-)

Step 3: Activate the White Wire

- Option 1: Directly connect the ACC wire to the battery’s positive terminal

Note: This white wire must be powered (connect to the positive of the battery); otherwise, the pod light will not work. The ACC wire would be purchased separately based on your vehicle model.
- Option 2: Route the ACC wire to the vehicle’s DRL (Daytime Running Lights) circuit (check your vehicle’s manual for the DRL fuse location)


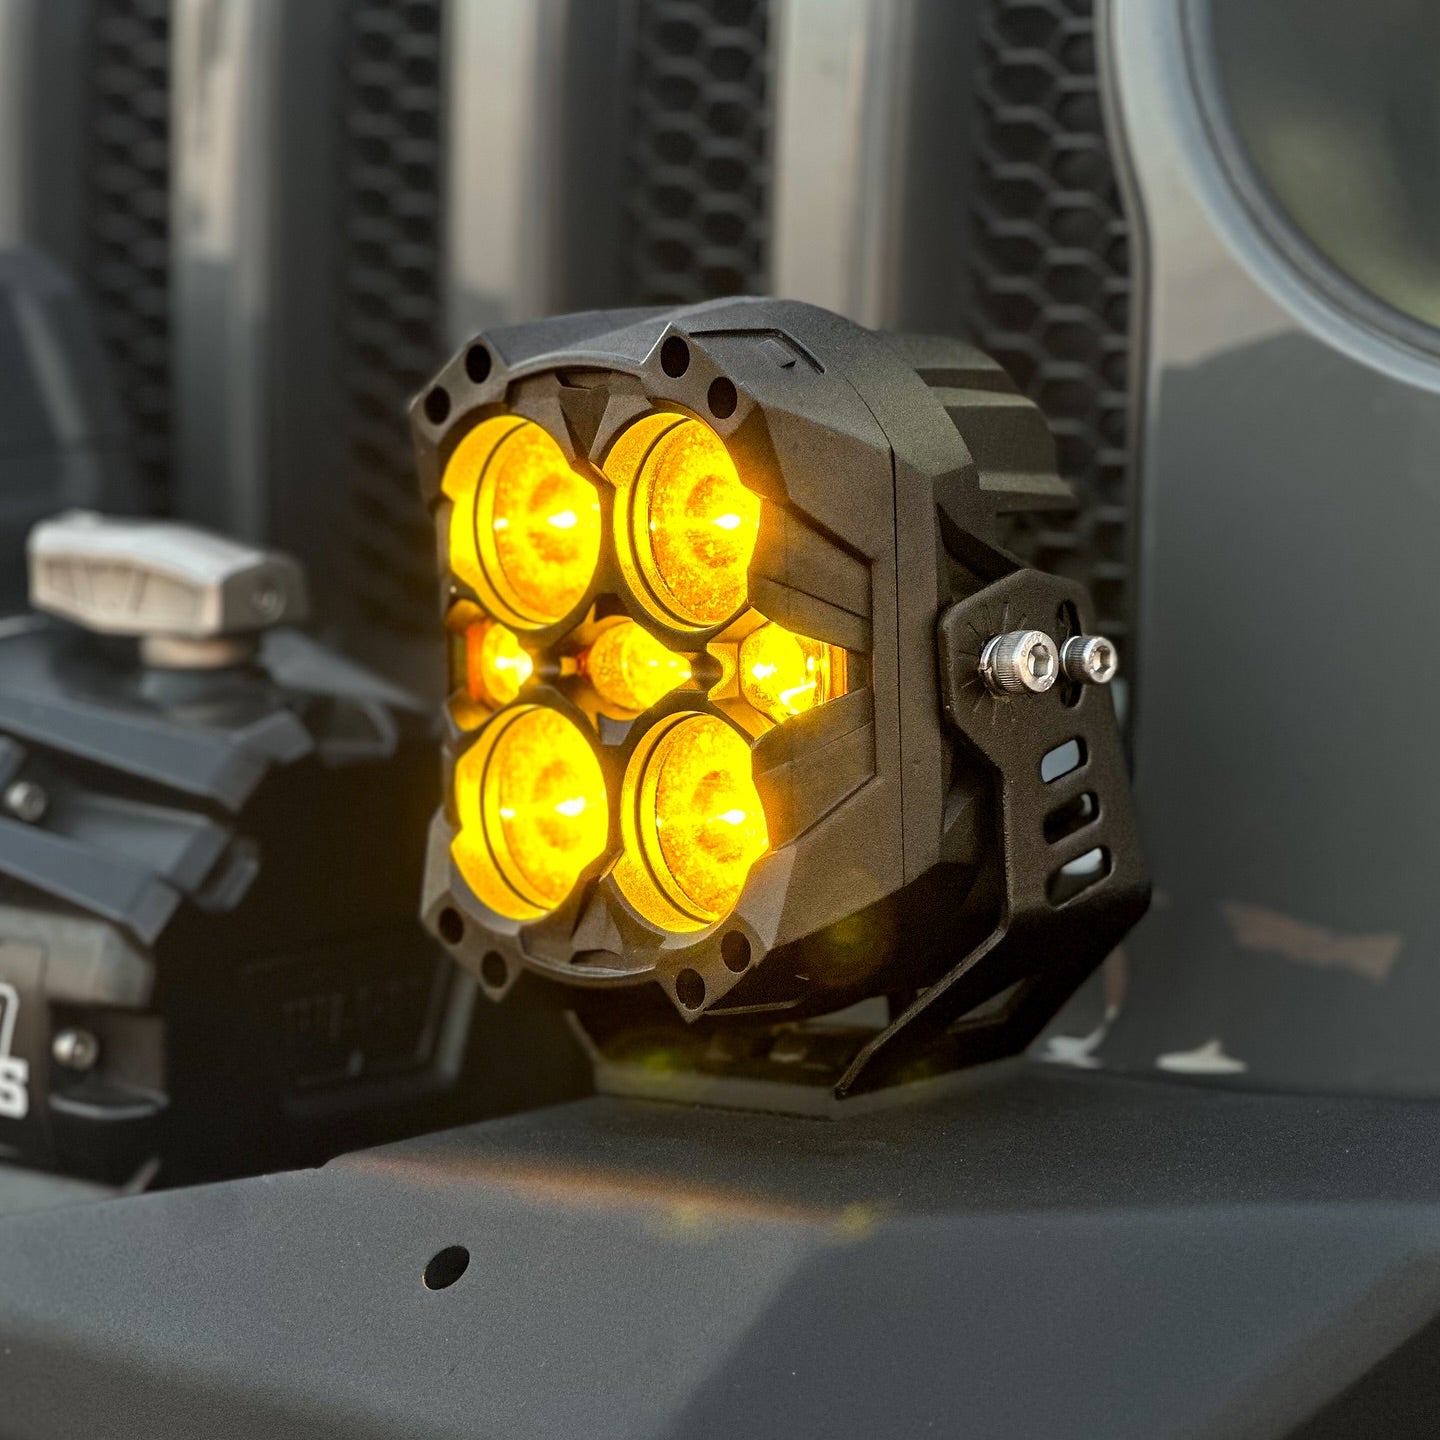
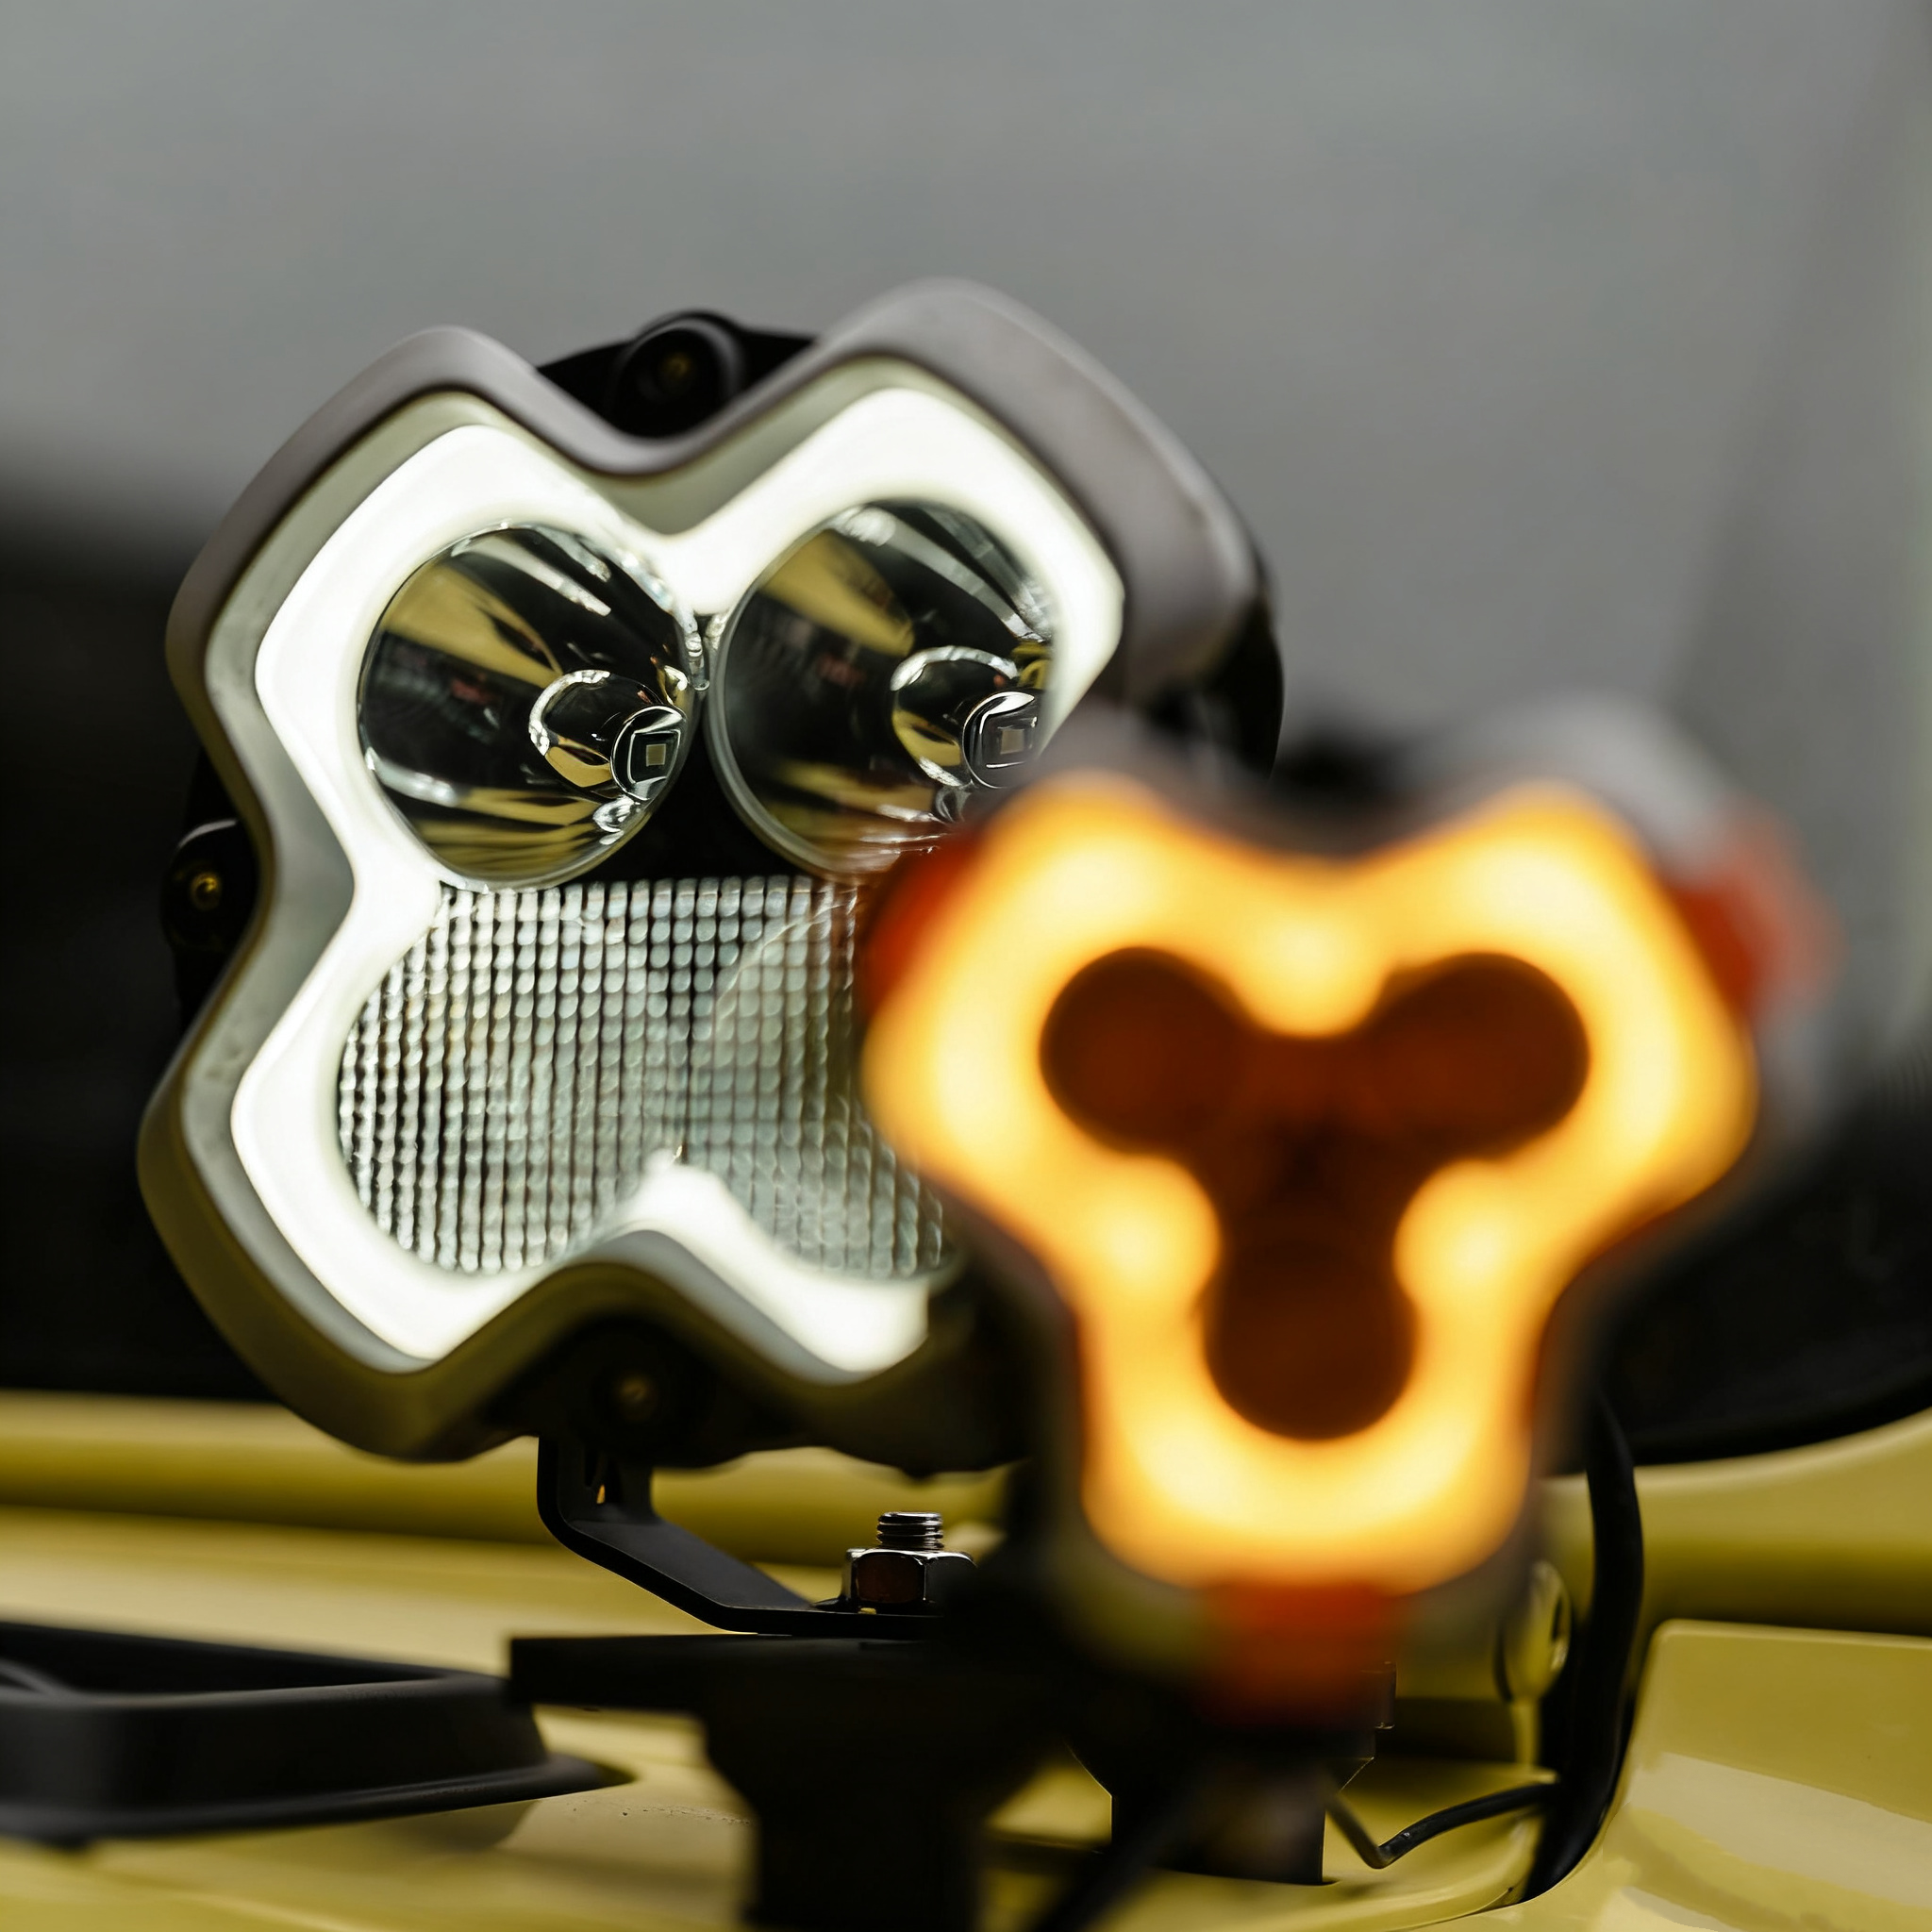
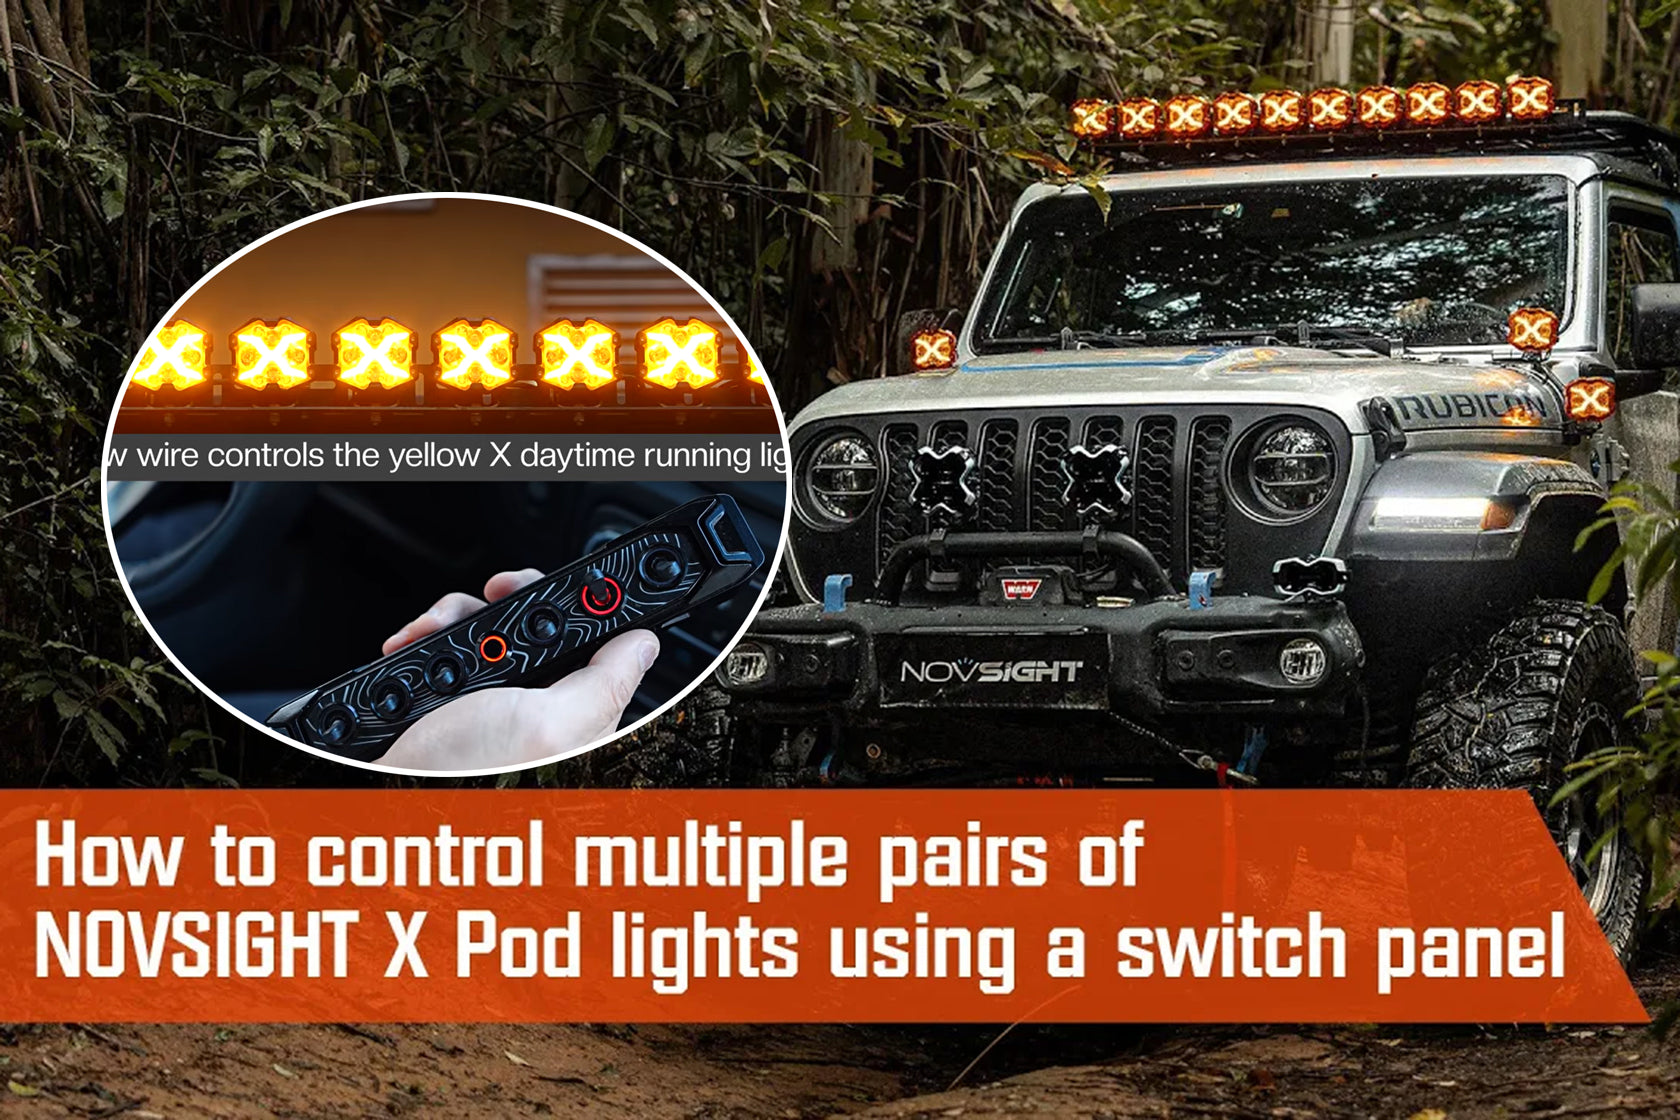
Step 4: Wire the Off-Road Lights

HALO Pro 3-inch Wiring Guide
To install the HALO Pro 3-inch, you need to cut the wiring harness in advance.
This involves stripping out the four different colored thin wires from the thick braided wire. If you don't know how to cut the wires, you can refer to this blog post.

Here's a diagram of the wiring harness for the HALO Pro off-road light:


Carefully strip the main harness to expose four colored wires:
- Red → Positive (Same Port-Channel 1, Main Light)
- Black → Negative (Same Port-Channel 1, Main Light)
- Yellow → Positive (Channel 2, DRL On/Off)
- White → Positive (Channel 3, Dynamic DRL Mode)
Step 5: Pair the Control Box with the Wireless Toggle
- Press and hold the black pairing button on the control box until the LED blinks rapidly


- On the toggle switch, press and hold the central button until it powers on

- Wait for the pairing LED to stop blinking—confirmation of a successful connection

Step 6: Test Functionality
- Central Button: Powers the entire panel

Toggle Switches:
- Channel 1 (Red): Controls the main light

- Channel 2 (Yellow): Activates/deactivates DRLs

- Channel 3 (White): Cycles through dynamic DRL patterns (toggle rapidly)

DRL Reset:
- With DRLs active (Channel 2 on), hold Channel 3’s toggle in the “ON” position for 3 seconds

- Release to reset patterns, then return the toggle to “OFF”

Key Considerations
- Safety: Always disconnect the battery before wiring.
- Compatibility: This panel does not support strobe or momentary modes.
- Warranty: Modifying factory wiring may void vehicle warranties—verify with your dealer.
Reminder: This 6-Gang Wireless Toggle Switch Panel is lack strobe or momentary modes. Other switch panel versions have strobe function and momentary function, availability depends on the brand and model of the panel you purchase.
Purchase & Support
*Shop Novsight Switch Panel: https://www.novsights.com/collections/switch-panel
*Watch this tutorial online
*Relevant Installation Video Links
- HALO Pro Hardwired Installation to Bluetooth Switch Panel: https://www.youtube.com/watch?v=OamqPAzaIyE
- HALO Pro Series connect to Voice-Controlled Switch Panel:https://www.youtube.com/watch?v=2SIlYlM9Pfg
- HALO SE Connect to Switch Control Panel:https://www.youtube.com/watch?v=hGGAjQRVRGE
- X Series 4-Inch LED Pod Lights Connect to Switch Control Panel:https://www.youtube.com/watch?v=z2c8Mszw5Fk
- Cyber 6-inch Use Switch Panel Kit Connection Tutorial:https://www.youtube.com/watch?v=nFfv9Go9mSs
- For Multiple HALO Versions connect to Voice-Controlled Switch Panel:https://www.youtube.com/watch?v=XigJtwcFxuI
For off-road enthusiasts by off-road enthusiasts.
Need help? Contact Novsight’s technical support at support@novsight.com.

Leave a comment
All comments are moderated before being published.
This site is protected by hCaptcha and the hCaptcha Privacy Policy and Terms of Service apply.