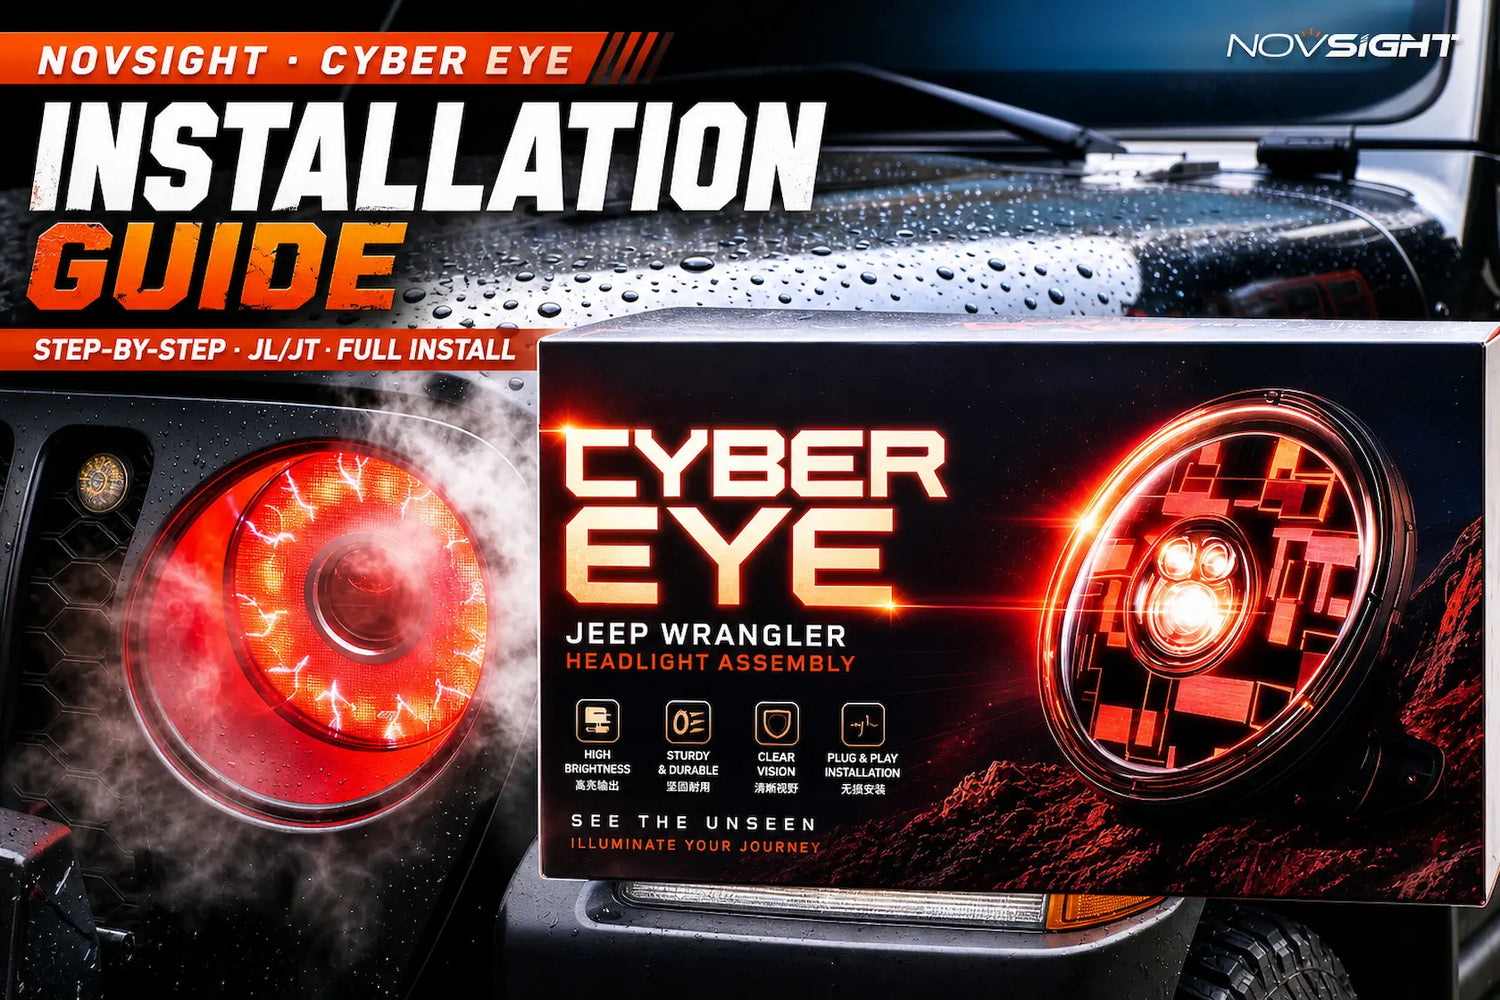
The Novsight Cyber Eye is a 9-inch custom dynamic LED screen headlight built specifically for the Jeep Wrangler JL and Gladiator JT — a plug-and-play assembly that bolts into the factory mounting points and connects to the factory harness, no cutting or splicing required. This guide walks through the full installation process shown in our official video tutorial below, from removing the factory headlight to wiring in the decoder and signal enhancer that keep your dashboard error-free.
Before you start: Park on level ground with the engine off and the hood cool to the touch. Work on one side at a time so the untouched factory headlight stays available as a reference. No wire cutting or soldering is needed at any point in this install.
Installation Steps
1
Remove the Front Grille Cover
Open the hood
Pry out the four exterior clips using a trim removal tool
Firmly pull the front cover away
Pry out the clips on the inside of the hood
2
Remove the Factory Headlight
Remove the stock headlight screws
Disconnect the two connectors from the stock headlight
3
Prep the Cyber Eye Assembly
Slide the rubber sleeve onto the Cyber Eye
Connect the wiring harness
Tighten the two screws
Check the LEDs to confirm left/right orientation
Check the clip alignment before installing
4
Install the Cyber Eye
Route the wiring harness through the headlight assembly connector and plug it into the stock connector
Set the Cyber Eye into position
Reinstall the stock screws
5
Connect the Decoder
Slide the rubber ring into the decoder socket
Attach the foam pad to the harness connector
Plug it in and tighten the screws
6
Wire the Power & Ground
Take the separate wiring harness and connect it to the ACC wire
Connect it to the decoder harness
Remove the stock ACC fuse
Plug the ACC cable back into the stock ACC fuse socket
Finally, connect the ground wire to the negative terminal (chassis ground)
Repeat Steps 1–6 on the opposite side, then close the hood and test both headlights before driving.
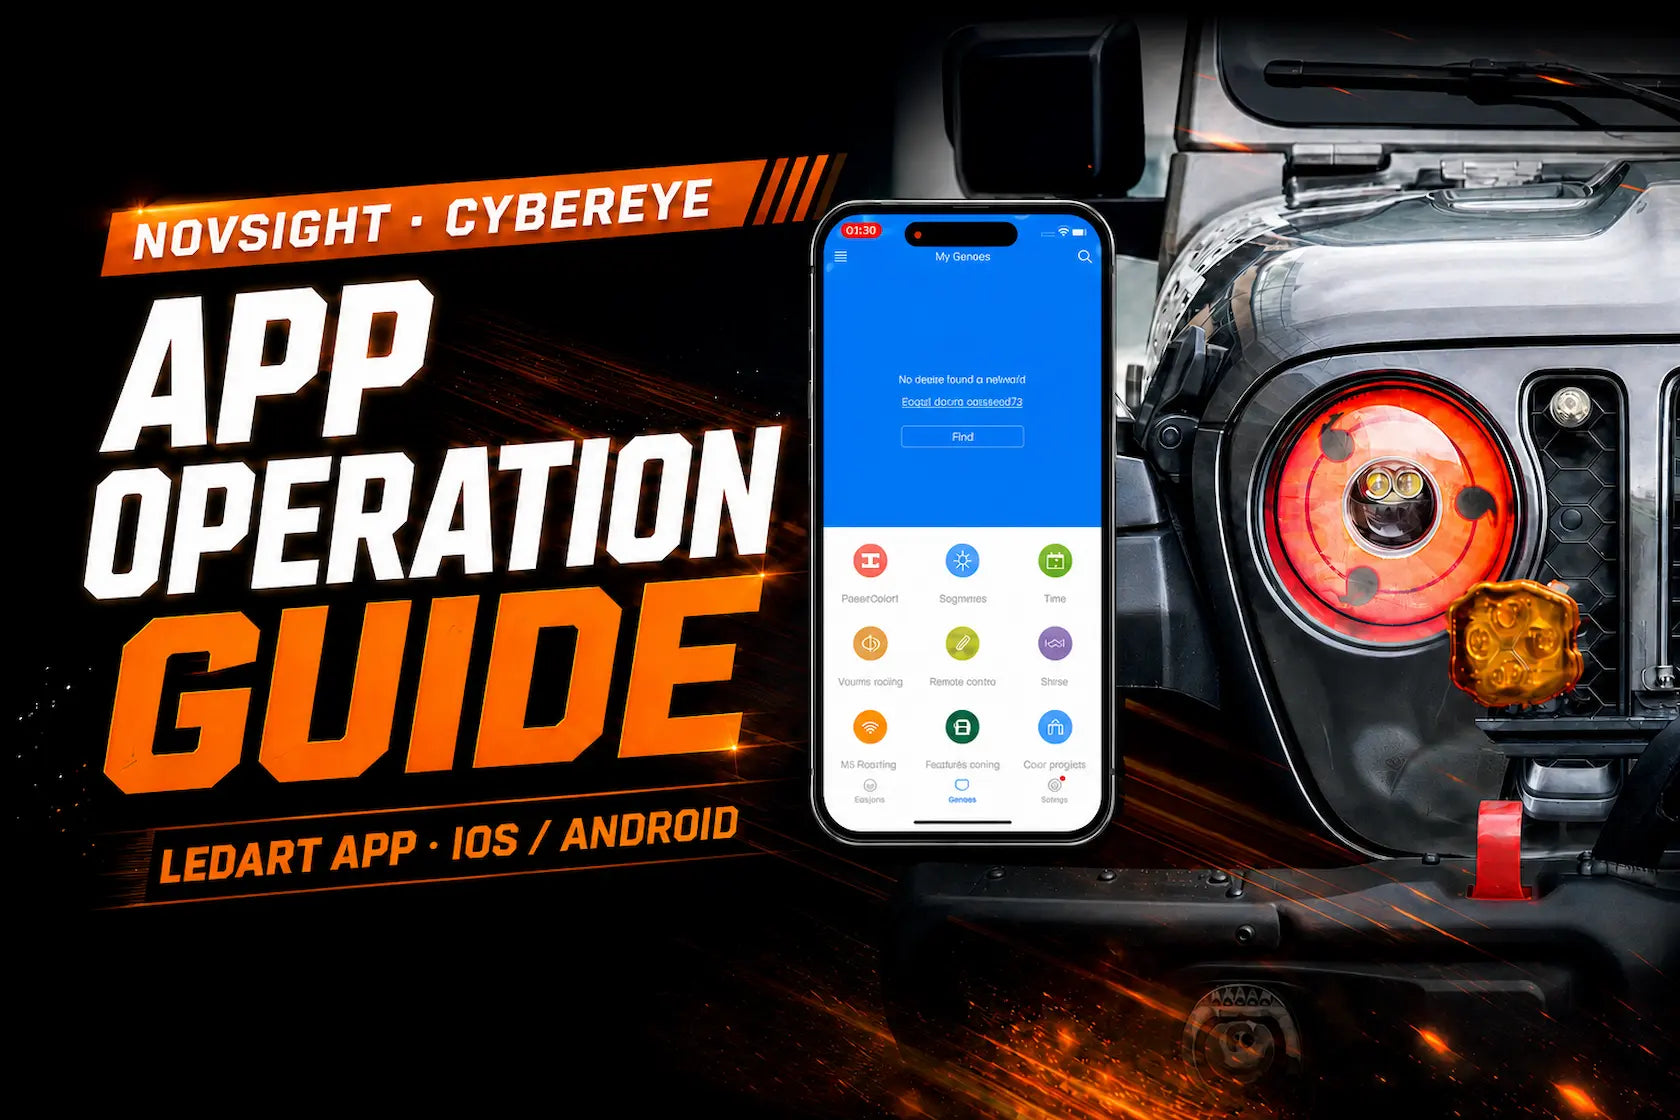
What's next: Once both headlights are installed, download the LedArt app to connect over Wi-Fi and customize your 96×96 LED display — brightness, auto on/off scheduling, and uploading your own photos or videos. See our full LedArt app setup guide.
FAQ
Is the Cyber Eye installation really plug-and-play?+
Yes. The kit connects through the factory headlight connectors plus a dedicated decoder harness — no wire cutting or soldering is required, exactly as shown in the video above.
What do the decoder and signal enhancer do?+
They sit between the Cyber Eye and your JL/JT's factory wiring so the vehicle reads the LED headlight correctly, which helps avoid the dashboard warning lights and error codes that LED retrofits commonly trigger on factory harnesses.
Do I need to disconnect my battery before installing?+
No. The guide has you pull the stock ACC fuse before wiring in power, which isolates that circuit without needing to disconnect the battery.
What tools do I need?+
A trim removal tool (or flat screwdriver) for the clips, plus a Phillips screwdriver. All mounting hardware is included with the Cyber Eye kit.
Is professional installation required?+
No — the process is designed to be done in your driveway. If you'd rather have a shop install it, any installer familiar with aftermarket lighting can follow this same guide.
Does installing it myself affect my warranty?+
No. Self-installation does not void your coverage — the Cyber Eye headlight assembly is backed by a full 2-year warranty whether you install it yourself or have a shop do it.
Is the Cyber Eye street legal?+
Yes. The Cyber Eye headlight assembly is US DOT certified for the Jeep Wrangler JL and Gladiator JT (2018–2026).
Ready to Upgrade Your Jeep JL/JT?
Get the Cyber Eye 9" custom LED screen headlight assembly and follow this guide to install it yourself.




Hinterlasse einen Kommentar
Alle Kommentare werden vor der Veröffentlichung geprüft.
Diese Website ist durch hCaptcha geschützt und es gelten die allgemeinen Geschäftsbedingungen und Datenschutzbestimmungen von hCaptcha.